Turning now to the final surface v surface action on turn 4, the US EastGroup reinforced by two New Zealand light cruisers successfully intercepts a very small Japanese invasion convoy heading for Banjermasin in Borneo.
 |
| EastGroup had come through an air attack unscathed and now had a chance to interrupt Japanese invasion plans. |
EastGroup consisted of 1 x heavy cruiser, 2 x light cruisers and 8 destroyers. The Jintsu convoy had 1 x elderly light cruiser and 4 destroyers escorting 1 x troop ship.
 |
| The Japanese convoy under the command of a veteran Admiral Tanaka on the flagship Jintsu. |
 |
| EastGroup under the command of Admiral Glassford on the Boise. |
Continued -
 |
| Japanese convoy heading north west at 11 knots. |
 |
| The US force is sighted dead ahead at a distance of 27,000 yards (135cm). |
 |
| EastGroup heading north east at 25 knots. |
Turn 3
 |
| The first couple of turns involved manoeuvering with little action. Here the Japanese troopship escorted by a single destroyer turns south west hoping to break contact with the allied ships. |
 |
| The US force has split intending a pincer movement. 4 x destroyers turn towards the south and 4 due east. The cruisers plan on bringing broadsides to bear on the approaching Japanese ships. |
 |
| The 3 remaining Japanese destroyers and the Jintsu increase to maximum speed to intercept EastGroup and hopefully buy time for the troopship to escape. An early casualty is the destroyer Hatsukaze (middle top of photo) who is struck by 6" shells from Boise. She loses a couple of turrets and a hit on her depth charge rack causes a fire. |
Turn 4
 |
| The US destroyers continue to encircle the small Japanese force with the latter attempting to gain decent torpedo firing solutions. |
 |
| Boise leads the light cruisers and opens up with a full 6" broadside at Hatsukaze. Acutely aware of the dangers posed by Long Lance torpedoes the allied fleet pour all available fire at the Japanese destroyers hoping to neutralise that threat as quickly as possible. |
 |
| Several 6" shells hit Hatsukaze (bottom right) knocking out 2 turrets and a torpedo mount. A fire also breaks out. |
 |
| The Japanese flagship, Jintsu, turns to port hoping to cross the 'T' of allied ships and utilise it's starboard torpedo mount. |
 |
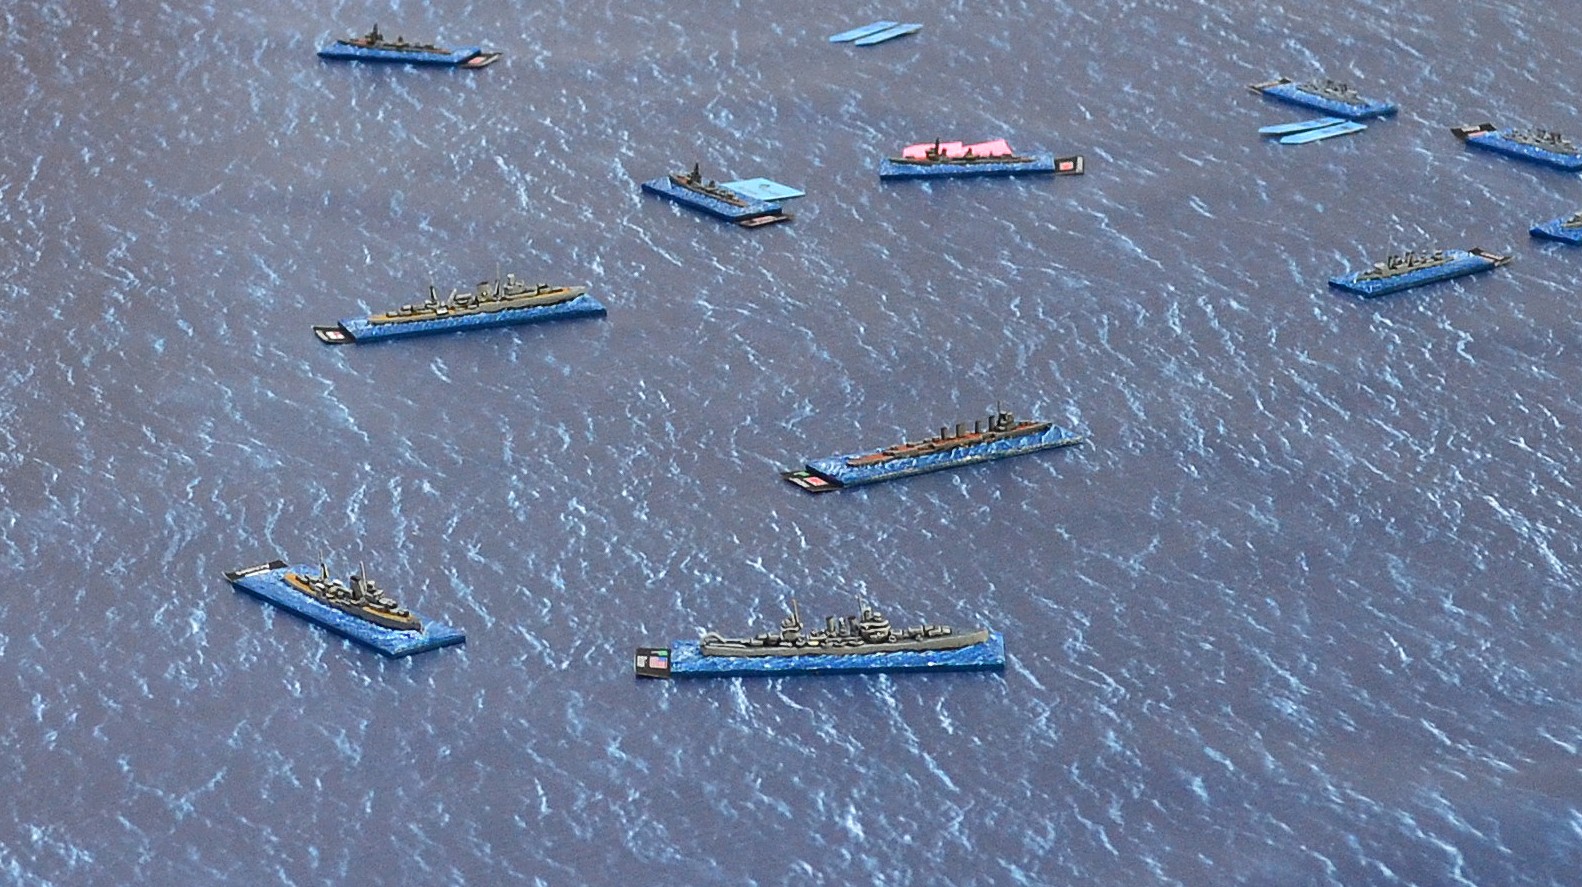
| An overview at the end of turn 4. |
Turn 5
 |
| Not an ideal firing solution but the Japanese, concerned about losing valuable torpedo mounts to gunfire, take a chance and launch anyway. |
 |
| The Hatsukaze wastes no time in firing its last torpedo mount with its torpedoes set to a deep setting to avoid hitting its own destroyers. Allied cruisers being the main target. |
 |
The Japanese destroyers get absolutely pummelled by allied gunfire failing to hit anything in return! Boise and Achilles in particular, benefitting from an ability to use rapid fire at this range, score 12 hits between them on the lead Japanese destroyer, the Yukikaze. It's deck is reduced to twisted metal with all gun turrets and torpedo mounts out of action. Two fires are raging and it is dead in the water.
The Tokitsukaze (on the left) faired little better as 4" shells from US destroyers, again using rapid fire' rained down on it breaching a bulkhead and jamming its rudder. |
 |
| Admiral Tanaka on the Jintsu looks on in horror as his destroyers erupt into fireballs with little in return. The only success was it's own 5.5" guns knocked out a turret on Peary. |
 |
| Stewart leading a destroyer division (bottom of photo) fully engages with the burning Hatsukaze. |
 |
| The current dire state of the Japanese force. |
Turn 6
 |
| The US destroyers unleash their 'old' 21" torpedoes. |
 |
| Likewise on the US western flank. |
 |
| Achilles adds it's own salvo meaning there are a total of 28 allied torpedoes in the water. |
 |
| Japan adds their own torpedoes into the mix! |
 |
| Jintsu launches theirs towards the oncoming allied cruisers. |
 |
| Amatsukaze escorting the troopship peels away in a last ditch attempt to delay the allies attacking the valuable Merchant vessel. |
 |
An unexpected 90 degree turn to starboard by Jintsu surprised the US destroyers successfully avoiding their torpedoes. The intention being to embark on a suicidal run in the hope of unloading their port tubes into an allied cruiser. Any damage from their 5.5" guns would be a bonus.
Luck was not on their side when a 6" salvo from Boise destroyed Jintsu's torpedo tube mount! Otherwise gunfire from both sides proved ineffectual. |
 |
| Leander is instructed to detach itself from the Cruiser division to ensure the demise of the nearby Japanese destroyers. |
 |
A torpedo fired from Stewart hits the now dead in the water Yukikaze. The US crew celebrate as they observe a column of water erupt from the side of the Japanese destroyer. There is a 50% chance their torpedo would be a dud but not on this occasion. Yukikaze is still afloat but in serious trouble with a breached bulkhead and no less than 3 fires raging.
The other two Japanese destroyers suffer badly from incoming shells with both now in poor shape and on fire. |
Turn 7
 |
| Amatsukaze empties it's torpedo tubes at long range towards the allied cruisers and rapidly approaching US destroyers (top of photo). |
 |
| John D Edwards fires it's torpedoes towards the battered Japanese destroyers. |
 |
| Whipple likewise hopes to finish off their opposite numbers. |
 |
| An overview at the end of turn 7. Amatsukaze (bottom right) fairs badly against the US Navy's gunnery. The destroyer exchange saw one of Amatsukaze's torpedo mounts destroyed. |
 |
| Jintsu (middle of photo) sustains 6" hits from 3 different directions as all allied cruisers, utilising rapid fire, score multiple hits. All its torpedo tube mounts are knocked out and 3 of the 7 x 5.5" gun turrets. More seriously still are 2 bulkhead breaches with an already badly damaged hull reducing Jintsu's speed to 5 knots. It is unable to score any hits of it's own. |
 |
Tokitsukaze (middle of photo) is battered by gunfire from 4 US destroyers. It is circling to port with a jammed rudder and now has 2 fires raging. It's 2 aft turrets continue to fire but score no hits.
Top left the Yukikaze fails to control its fires and bulkhead flooding and sinks. |
 |
| The dire situation of the Japanese force. All torpedoes from both sides have missed this turn but many are still in the water and pose a threat. |
Turn 8
 |
| Jintsu (middle of photo) succumbs to 6" shells pouring into its battered hull. Middle left the light cruiser Leander fires a salvo of torpedoes at the now dead in the water Hatsukaze (top left) as the Stewart lead destroyer division takes pot-shots at the burning Tokitsukaze. |
 |
| The pursuit of the lone troopship continues with the John D. Ford leading its division south. Amatsukaze is determined to not go down without a fight and is rewarded with an engineering hit on the lead US destroyer limiting its speed. A plume of water erupts from the last destroyer in the line, Pillsbury, as one of Amatsukaze's torpedoes strikes it on the port bow. It is lucky to survive with 3 of its 6 hull boxes damaged and the loss of a gun turret. |
Turn 9
 |
| As allied ships approach, one of Leander's torpedoes hits Hatsukaze sending it to the bottom. |
 |
| Another loss for the Japanese, Tokitsukaze loses its battle against raging fires and abandons ship. All Japanese vessels in this sector are now lost just leaving one destroyer and the troopship to the south. |
 |
| Consolation for the Japanese. Another of Amatsukaze's torpedoes strikes. This time HMNZS Achilles, with catastrophic results. The first allied loss is a valued cruiser as the crew abandon their rapidly sinking ship. Boise in the lead seeks to maintain contact with the troopship opening fire with its forward turrets but failing to score any hits. |
 |
| Amatsukaze continues to put in a decent shift knocking out one of Pope's turrets but ominously suffers a breached bulkhead in return. |
Turn 10
 |
| Amatsukaze repairs it's bulkhead flooding and successfully evades several torpedoes doing an unexpected about turn. In the ensuing exchange of gunfire it suffers a second fire. |
Turn 11
 |
Amatsukaze fails to put out any fires but successfully hits Ford damaging a hull box. Disaster hits the Japanese destroyer however, when several 4" shells took out all 3 turrets and the remaining torpedo mount.
In the meantime, Boise (top right) closes the distance to the troopship enabling her to use Rapid Fire for her tow forward facing triple turrets. Two hits were registered knocking out the troopship's bridge and WT along with a hull box slowing its already stately speed. |
I ended the game at this stage as there was no prospect of escape for either Japanese ship nor of them inflicting any further damage on allied vessels.
The ability to use rapid fire with smaller calibre guns gives the allies a clear advantage, albeit partially offset by limited ammunition and restricted to a maximum range of 12,000 yards (60cm). A lesson for the Japanese will be to remain in long range for as long as possible hoping to degrade allied firepower including by utilising the long range of their torpedoes before they can make best use of that ability.
Another setback for the Japanese but for the allies they can ill afford to lose another cruiser.
Japanese losses:
Sunk: 1 x light cruiser, 4 x destroyers, 1 x troopship
US losses:
Sunk: 1 x light cruiser
Disabled: 1 x destroyer
This translates to the following victory points for this turn:
Japan: 4
Allies: 16.5
I will conclude campaign turn 4 in the next post which will incorporate the possibility of air strikes on crippled and disabled allied ships.


Is one troopship a convoy? I think the penny-packet approach here caused the Japanese to come a cropper, but the loss of the Achilles was a blow.
ReplyDeleteThat's a moot point. I am guessing that with their superiority in numbers they were supremely confident of securing all their objectives in a small amount of time. The scenario designers have introduced more cruisers (ANZAC) than they had at the time to make it more interesting to wargame but even despite these successes, it will be a close call as to who is the campaign victor. i.e. will the Japanese achieve all their objectives in the alotted time?
DeleteAnother fine AAR Jon and it looks like things are in the balance, despite another Japanese loss. I'm looking forward to the Campaign Turn 4 overview to see how things stand for both sides. Keep up the good work:)!
ReplyDeleteMany thanks Steve.
DeleteA gallant defence by the outmatched Japanese escort! Especially IJN 'Amatsukaze'. I'm a little surprised that the Allies have (had?) such a sizeable task force in the region.
ReplyDeleteCheers,
Ion
The scenario designers have added a few ships that were not in theatre at this time, primarily some the ANZAC cruisers. The idea being it makes it more enjoyable to wargame. You do have the option of using historical orbats but any chances of success would be diminished. There is not a huge difference though and there is the option of adding planned Dutch battlecruisers etc. to further even up the sides!
Delete