 |
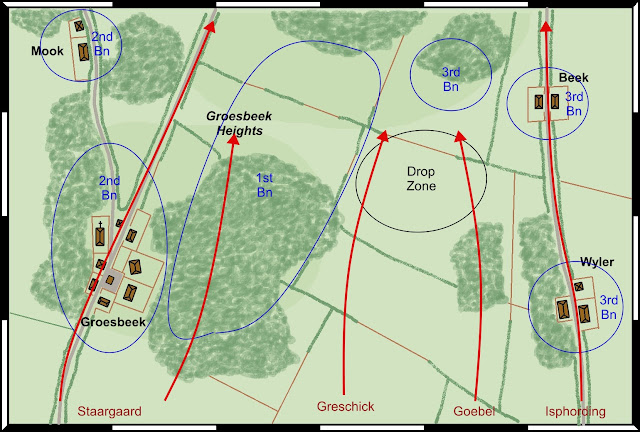
| The initial German plan of attack. |
TURN 1
 |
| The initial assault on Wyler proved costly for the Germans. An infantry platoon was lost with others suffering casualties as the attempted to storm the village buildings. |
 |
| The Germans benefit from excellent command dice in their first turn allowing for several activations for each formation. Here the Goebel's battle group make good progress towards the woods near Wyler. |
Continued -
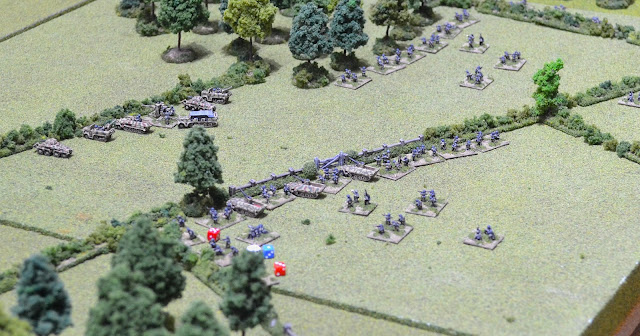 |
| Greschick also makes good progress (Goebel at top of photo) although one of his flanking companies suffers from accurate fire from the heights near Groesbeek. |
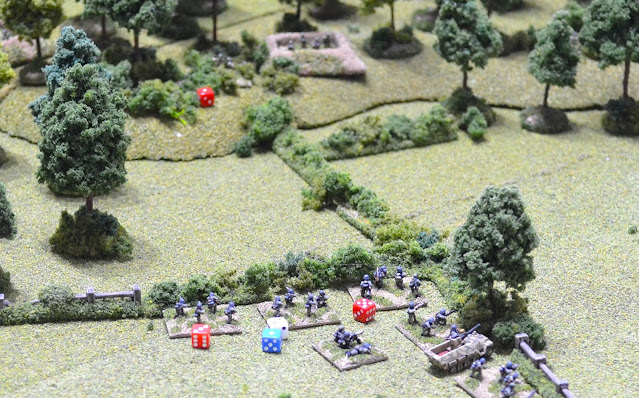 |
| Greschick's flanking company only manages a weak reply having suffered from 2 suppressed platoons. |
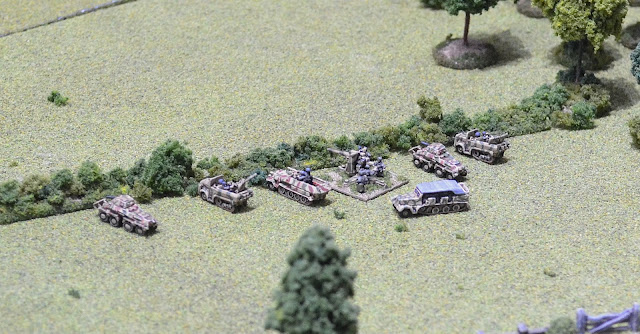 |
| German mobile units had sufficient activations to move to advanced positions overlooking the drop zone and for the 88mm to deploy. |
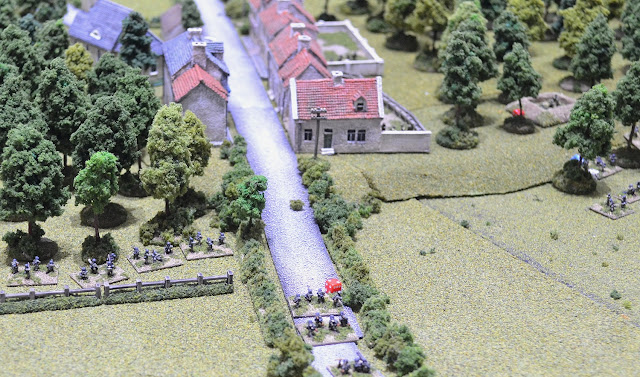 |
| The German advance on Groesbeek also proved perilous with two lead platoons hugging the hedgerows on the approach road quickly being destroyed by sustained fire from the village. |
TURN 2
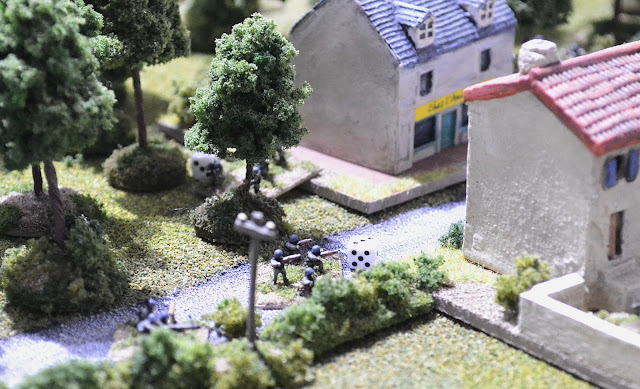 |
| In Wyler the Germans continue to struggle to make headway along the road losing another platoon. |
 |
| A breakthrough for the Germans occurs when they manage to capture a shop on the west side of the road with one company threatening to cut off the village. |
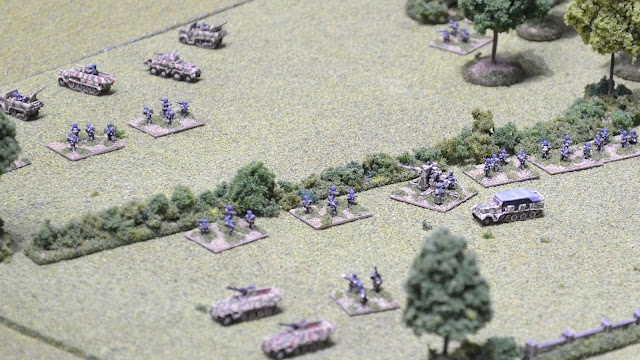 |
| Further healthy activations allows Greschick's infantry to make significant advances including onto the drop zone. |
 |
| One of Greschick's infantry companies along with his 20mm equipped halftracks and an MMG pour fire onto the heights silencing the dug in Airborne platoons. |
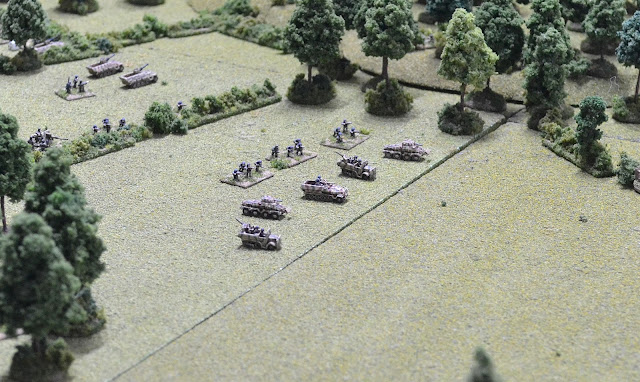 |
| Armoured cars and halftracks supported by an infantry company race across the drop zone unhindered. |
 |
| As in Wyler, the Germans struggle along the access road into Groesbeek coming under sustained fire from the buildings. An infantry company attempts to flank the village through the woods on the left. |
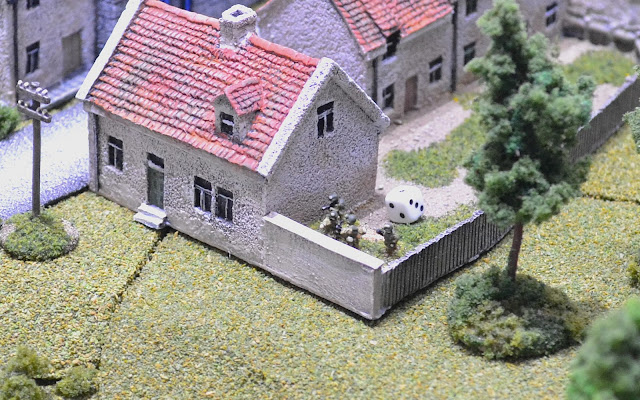 |
| One US platoon in particular occupying a garden proves heroic inflicting numerous casualties on the Germans for minimal loss. |
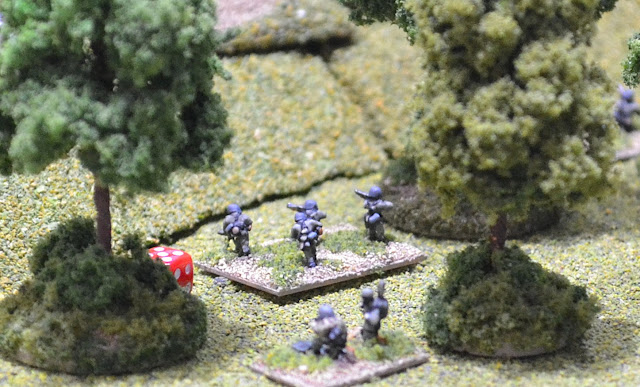 |
| The German infantry company attempting to clear the woods on the heights to the east of Groesbeek suffers a serious mauling. Having lost one platoon and another very nearly destroyed, they have given up attempting to close assault the US troops dug in on the heights. |
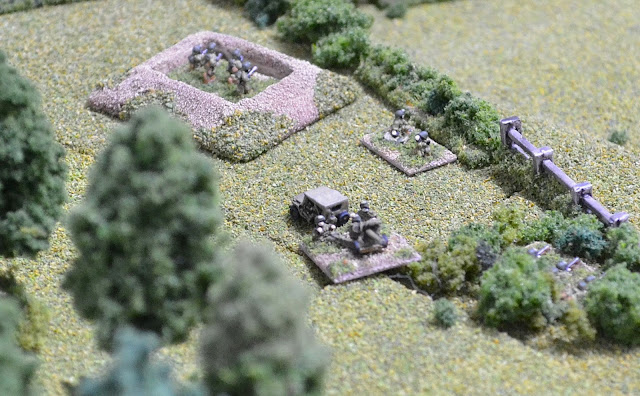 |
The rapid German advance on the drop zone has lead to the American commander, Col Ekman, recalibrating his focus moving his HQ onto the heights overlooking this crucial objective. His first decision was to relocate the 57mm anti tank gun covering the road from Groesbeek onto the heights. The second 57mm in Beek has also been ordered to intercept the German armoured vehicles.
Ekman brought with him the FAO (2 figure base in the photo) to initiate a bombardment from the off-table 75mm battery. |
TURN 3
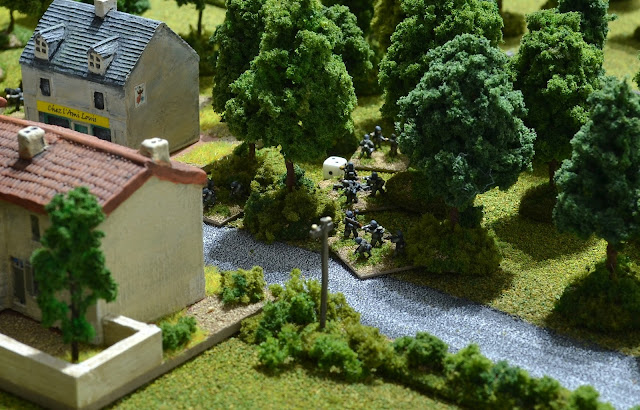 |
| Both sides suffered from poor command rolls this turn with most activations confined to initiative and opportunity fire. In Wyler the Germans continued to consolidate their positions exchanging fire with US troops occupying buildings. |
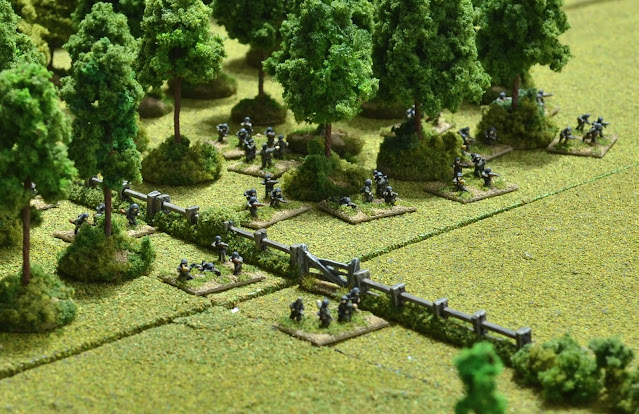 |
| Goebel had only one activation moving his troops to the treeline adjacent to the drop zone. One company continued to advance along the fence line in the direction of Beek. |
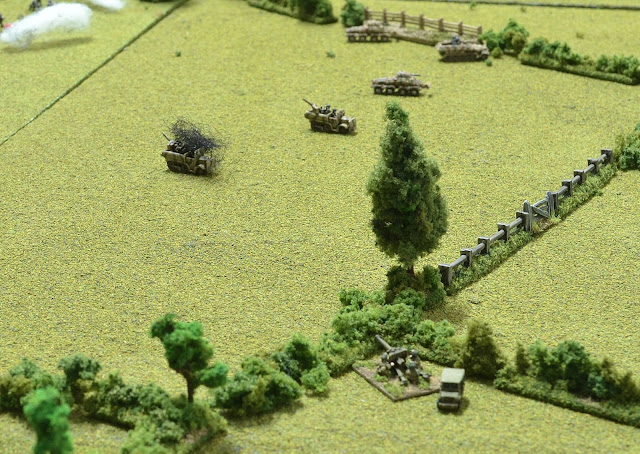 |
| The first kill for one of the 57mm AT guns. Having deployed on a hedgeline their first shot took out a Somua 20mm halftrack. |
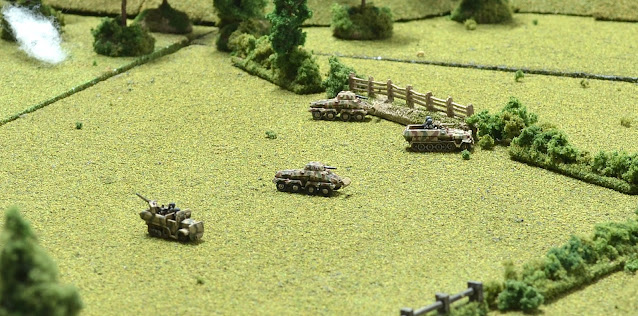 |
| The advance German armoured cars and halftracks gingerly moved across the drop zone but all was eerily quiet apart from a US AT gun firing from the direction of Beek. |
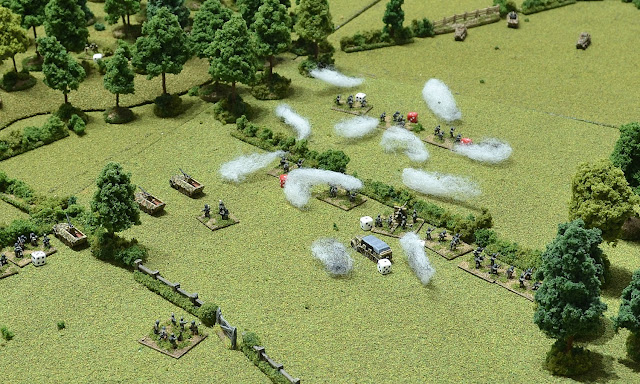 |
| Behind the lead elements, the supporting infantry of Greschick's battle group were not so fortunate. The US FAO, now positioned on the heights overlooking the drop zone, successfully called in a concentrated barrage from the two off table 75mm batteries. 3 platoons were suppressed and several others suffered casualties. |
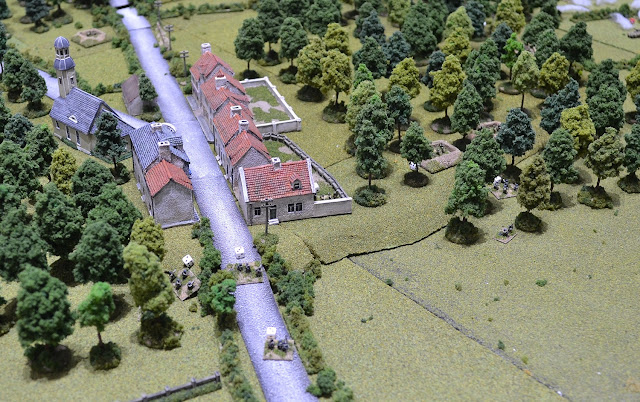 |
| Groesbeek also proved fairly static with neither side making much of an impression. The exception being the loss of a German platoon, already heavily battered, was on the receiving end of a US 81mm mortar. |
TURN 4
TURN 5
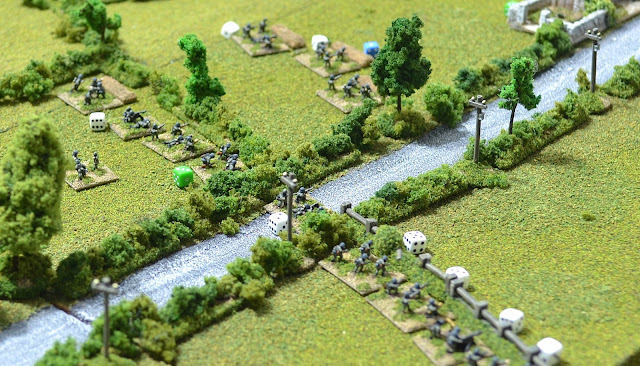 |
| Isphording's battalion, having secured Wyler, now move on Beek. They pour fire into the hamlet but the US Airborne company withstand the fusilade returning fire to good effect inflicting heavy casualties. |
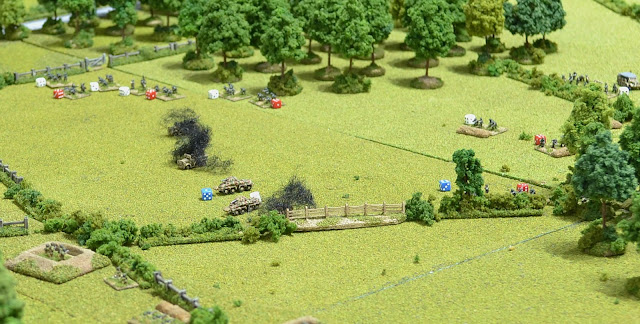 |
| The German troops continue to pay a heavy price for rashly moving out to secure the drop zone. Goebel's battle group in particular suffer another mauling. Poor German command dice rolls prevent them from digging in leaving them exposed to relentless fire from the Heights. Their only saving grace was a failed activation dice roll by the US FAO preventing another off-table barrage to be called upon. |
 |
| Another view of the drop zone viewed from Beek. |
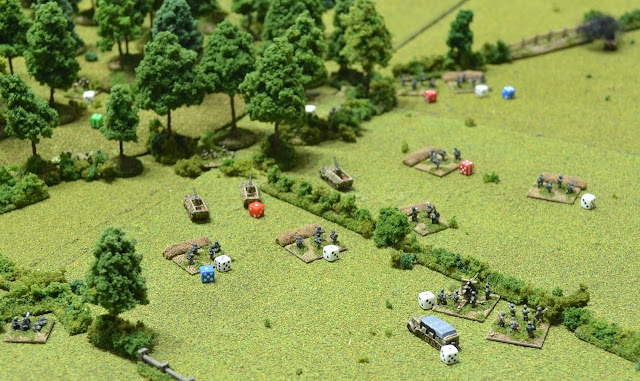 |
| The full threat from the woods is now most apparent with Greschick's battle group coming under sustained fire. They lose a platoon of infantry and a half track is suppressed by a bazooka firing from a dug-in position at the edge of the woods. |
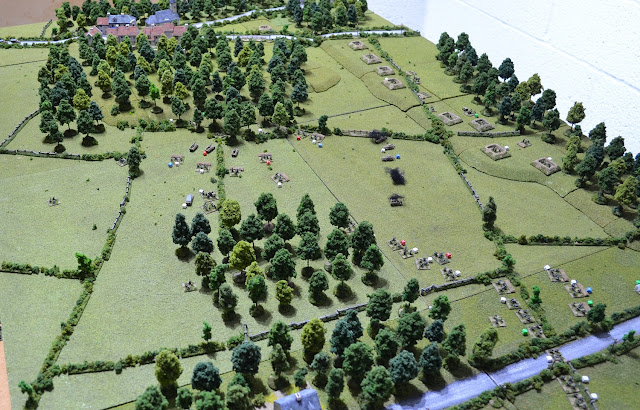 |
| An overview at the end of turn 5. The attack on Groesbeek has all but broken down with just a couple of surviving German platoons and their mortar left to engage the occupants. All they can hope for now is to prevent them from reinforcing the US positions around the drop zone. |
Turn 6
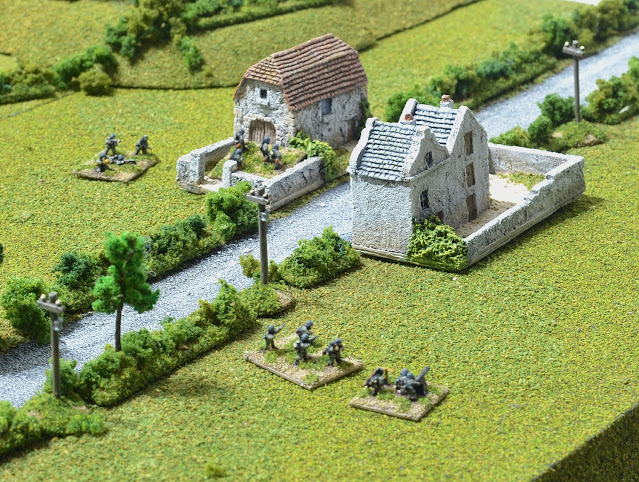 |
Isphording fails his command roll and as a result the CO takes over using his own command rolls. Maximum aggression is called for and Isphording's battalion close assaults Beek. They overrun the US Airborne section in the garden of the building on the left and quickly follow that up capturing the building itself.
The platoon holding the building on the right survive the assault but only just. They are the last of the Airborne holding the village. All this has come at significant expense to the Germans who lost several platoons in the assault. |
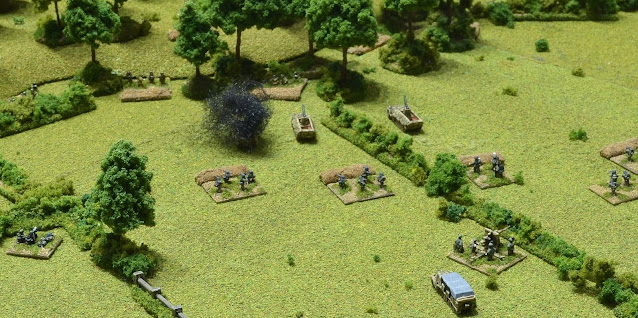 |
A fierce firefight continues to the east of Groesbeek with the now dug in Germans trading shots with the US Airborne dug in along the woods edge. A German halftrack brews up thanks to the proximity of a bazooka team.
Out of camera shot the assault on Groesbeek has now utterly failed with all German assault units destroyed. |
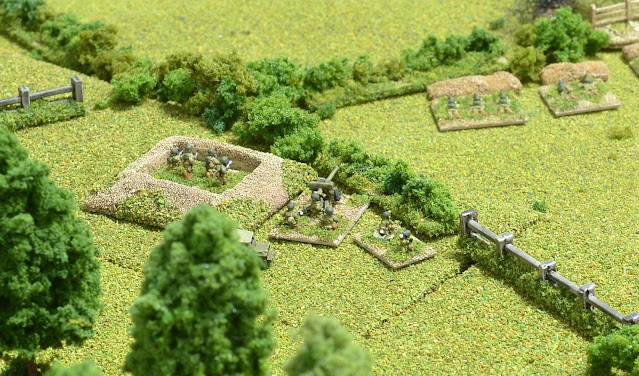 |
| The US battalion commander on the heights overlooking the drop zone rolls a double '1' on his command roll giving him a double activation. This allows him to reposition his 57mm AT gun that had fallen back. Further activations allows it to pump 2 shots into a German armoured car destroying it outright. |
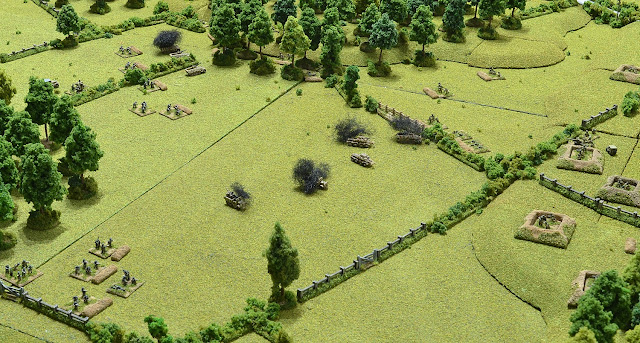 |
Very poor German command rolls leaves several platoons stranded in the open on the drop zone leaving them at the mercy of fire from the heights. Their plight is accentuated by successful command rolls by the Americans leading to wholesale slaughter. Goebel's battle group is close to being wiped out (bottom left of photo).
These horrendous losses have taken the Germans past their breakpoint. 37 units have been lost, 33 being the trigger point for a morale check. 5 or below is need on the command roll and they fail! |
This game concluded far earlier than I anticipated. A combination of poor German tactics (mine!) and bad luck lead to something akin to wholesale slaughter.
The plan was to use Goebel and Greschik's battle groups to capture and hold the drop zone with Isphording and Staargaard protecting the flanks. Isphording achieved its task capturing Wyler with relatively light casualties and almost captured Beek before the game end, although with much higher losses.
Staargaard was an utter failure! They failed to capture any of Groesbeek or the wooded heights to the east of the village resulting in serious consequences for the main German advance whose flank remained exposed throughout. Staargaard was plagued with poor command dice rolls but in hindsight, more resources should have been used to capture the heights.
The catastrophic error though was the main thrust towards the drop zone. The plan was to get as many units as possible dug-in in and around the drop zone. It all went wrong when those units advanced into the target area getting caught in the open before they had a chance to dig-in. A combination of US opportunity fire, off-table artillery bombardment and failed command rolls left most units stranded in the open. The result was a slaughter by dug-in US forces occupying the heights overlooking the drop zone.
On reflection, a more patient advance using a combination of smoke and suppressing covering fire would have been more effective. If sufficient German units had successfully occupied the drop zone it would not have been easy for the US to dislodge them before the next drop arrived. Historically they counter-attacked from the heights recapturing the drop zone in the nick of time.
Photography
As a footnote, you may notice a slight change as the game progresses with a little more colour. A constant problem since using the garage as a wargames room has been appropriate lighting. My knowledge of photography is basic to put it mildly. I have a reasonably decent Nikon SLR camera but for most games have it on automated settings to make life simple. I decided to take the plunge and attempt to improve photo quality by performing more manual settings. It takes more time and I am on a steep learning curve but hopefully better quality photos will be the result.


I must've looked away for a moment and what do I find? Two new posts!
ReplyDeleteA great looking game, but as you say the Germans seemed to forget that the enemy also gets a vote - and they got a landslide. As it was so quick, do you intend re-running it with the Germans being a tad less naive in their approach?
Many thanks Rob. I have no plans to replay it at present but who knows! Too many other games to be played but more Market Garden actions to hit the tabletop and, as the politicians say, lessons have been learned.
DeleteA fine game there Jon and the Germans certainly got a pasting! Taking BUA's is tricky, time consuming and costly based upon experience, so a tough ask for the Germans with limited armour support. Interesting post-game thoughts as always and certainly a scenario that would benefit from a replay, with the lessons learnt, as and when time and motivation might allow.
ReplyDeleteMany thanks Steve. It is an interesting conundrum for the Germans. That said, had they benefitted from better command dice rolls it could have been a different outcome. Especially with Isphording threatening the US flank after capturing Beek. The US would have been faced with a potentially costly assault of their own to retake the drop zone before the deadline.
DeleteIt's what I love about BKC, that odd command dice roll here or there that can really change the direction of a battle, which is perfect for solo play. Hindsight is a wonderful thing, but looking at the map, if Goebel held the woods to the North West of Wyler, with Greschink and Staargaard the woods East of Groesbeek, then they could have had the landing zone covered by converging fire, which would have made for a very tricky situation for the US troops.
DeleteI'm very tempted to get the scenario book now and to paint up another Battalion of US Paras! BTW I thought the first photos looked just fine and for ease of use, I just use the auto setting on my point and shoot camera. Not perfect but it works for me!
I do like the RF scenario book (the original, not so much the latest although that is still useful). With regard to photography. I am never going to be an expert and sure that I will be reverting to fully auto mode regularly. It is really covering those situations where lighting is not so great.
DeleteWell that was quickly played and reported on. Wonderful photos of a good looking game. I might give the rules a closer look.
ReplyDeleteRichard
Many thanks Richard.
DeleteAnother stunning looking game and your photos are excellent. As for the tactics well we all live and learn and that’s the fun of wargaming!
ReplyDeleteMany thanks Stryker.
Delete