Turn 19
 |
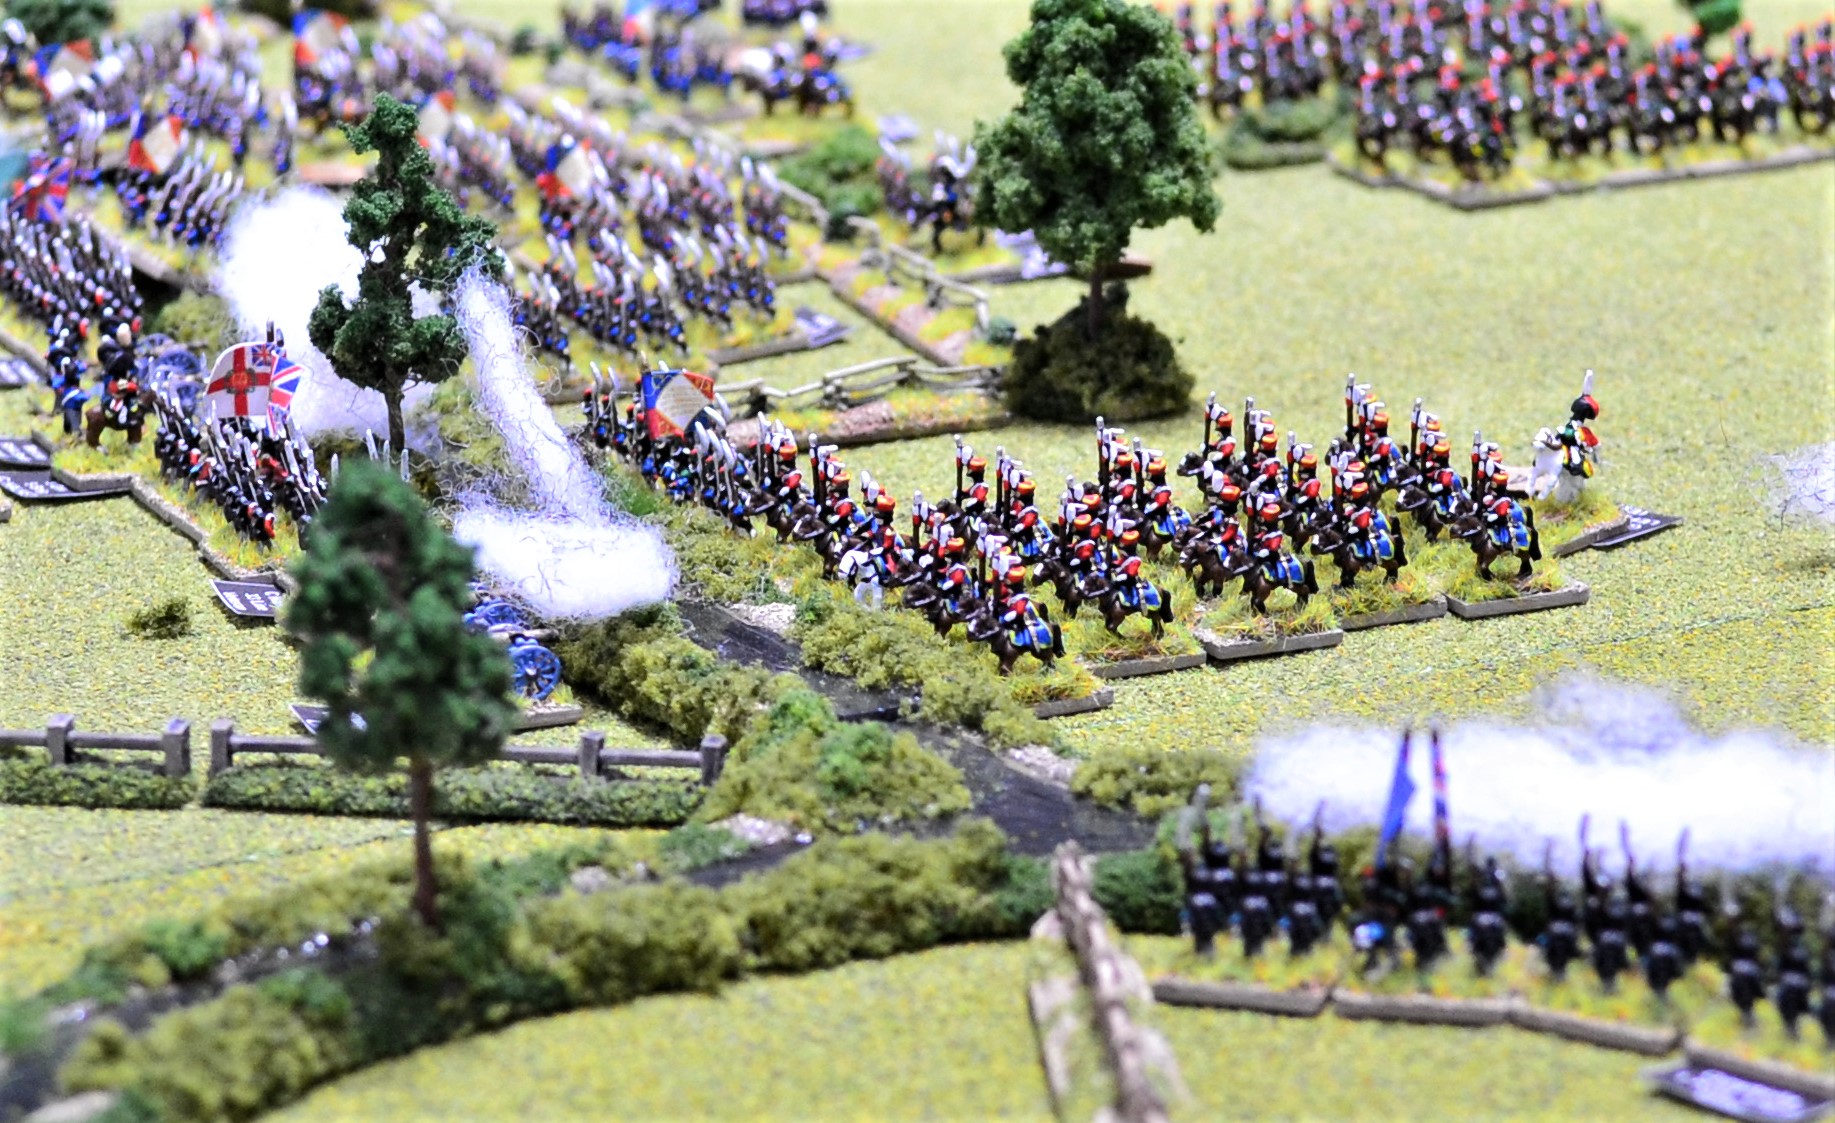
| Dornberg lead his light cavalry brigade on a desperate charge against the Cuirassiers while they were still unformed. The French advantage of heavy cavalry was cancelled out by their inability to counter charge together with the superior mounts of the British and KGL cavalry. On the left of the photo the elite 1st KGL Light Dragoons lead by Dornberg charged the veteran 4th Cuirassiers. The latter rolled a double '6' but fortunately for the KGL troopers they also rolled high reducing their defeat to a push back. Dornberg received a light wound and the Cuirassiers would pursue the next turn. To the right the British 23rd Light Dragoons charged the 1st Cuirassiers lead by Dubois. The had more success pushing back the Cuirassiers. |
 |
| Another attempt on the bridge was made by Villiers' Brigade, this time with the 2/11th Light battalion leading the charge against the 2/1st Foot Guards. The French took fire from nearby Hanoverian battalions but only suffered 1 casualty and successfully charged home against the Guards. They were narrowly defeated again and are pushed back. |
 |
| The view from behind the French right flank with the entire 4th Cavalry Corps ordered to attack across the river. In the background (top left), allied cavalry are rushing to counter the daunting threat. |
 |
| The French left flank continue to struggle to make headway. The Young Guard is ordered to attack screened by skirmishers. The Brunswick and Mercer's batteries again roll high inflicting heavy casualties on the approaching columns. The French 2nd Division (top left) wade across the river taking fire from allied battalions sent to plug the gap. |
 |
| As the Young Guard close on the allied line they come under withering fire causing one battalion to falter and another to retreat. |
 |
| The 2nd Division fares no better. 1 battalion of Schmitz' brigade and 2 battalions of Aulard's attempt to charge the allied line. As they struggle across the river they are met with effective volleys from the defenders stopping all in their tracks with 2 battalions faltering and 1 retreating. |
 |
| On the opposite flank the 1st KGL Light Dragoons who have been pushed back are caught by the pursuing 4th Cuirassiers. The weight of the French cavalry proves too much for the elite light cavalry who rout in the melee. The Cuirassiers continue with their uncontrolled pursuit of them. |
 |
| On the allied left flank more cavalry are brought forward to counter the French threat. To the right of the photo the 4th Dutch Light Dragoons wheel in an attempt to intercept the pursuing 4th Cuirassiers. |
 |
| On the French right, their infantry begin to pull back to make room for the advancing 4th Cavalry Corps. It is Grouchy's intention to deliver a hammer blow with his armoured cavalry which will be followed up by the 1st and 7th Infantry Divisions supporting the attack. |
 |
| The 2nd Lancers of the Guard prepare to charge the battery of Brunwickers that had caused so many problems on the French left. They lose 3 casualties from a blast of canister from that battery and a volley from a KGL battalion on their flank. |
 |
| Guye's Young Guard brigade begin to cross the river in the face of steady musket volleys from the defenders taking several casualties. |
 |
| The 4th Cuirassiers have seen off the 1st KGL Light Dragoons and as they begin to reform, their recklessness has placed them in a very dangerous situation so far behind allied lines. The British Household Brigade move to cut off the Cuirassiers from their line of retreat to their own lines. |
 |
| The 7th Cuirassiers charge Beane's RHA battery. The latter has the option to evade being horse artillery, however, to do so would almost certainly sacrifice the Hanoverian battalion to their rear (bottom right of photo). They therefore decide to make a stand and hope that a blast of canister stops the charge. The canister rips into the Cuirassiers knocking 2 of them down. It is insufficient to stop the charge and Beane's artillery crew pay with their lives. Their sacrifice saves the Hanoverians with the French cavalry suffering from blown horses. |
 |
| An overview of the allied left flank. |
 |
| To the French rear, Grouchy has ordered the 4th Light Cavalry Division that had been kept in reserve, to join the assault on their right flank. |
Turn 22
 |
| The Lancers of the Guard finally see off the Brunswick Horse Artillery battery that has caused the French so many problems on their left flank. The Brunswickers decided to call it a day rather than face annihilation and departed the field! |
 |
| Nearby the Young Guard intensified their attack across the river. The 2/1st Voltigeurs charged Mercer's battery who quickly limbered up and evaded the French battalion. Here the British 2/73rd Line fired a volley into the unformed Voltigeurs inflicting 2 casualties. |
 |
| Guye's Young Guard Brigade also launched their first charges with 2 battalion columns attacking the British 2/30th Line. The latter was unformed but nevertheless managed to inflict a casualty on each of the French battalions stopping one in their tracks. The 1/3rd Voltigeurs pressed home their attack but were repulsed by the British forcing them to retreat with heavy losses. Neighbouring battalions from the 2nd Division also attempted to break through the allied line but all failed to charge home. Their battered status was making morale checks increasingly difficult. |
 |
| The 4th Cuirassiers reforming from their pursuit were beginning to rue their impetuosity as the 1st Life Guards blocked their escape route. |
 |
| An overview of the allied left flank with infantry being ushered out of the way allowing the allied cavalry a clear run at the approaching Cuirassiers. |
 |
| On the French left, a narrow window of opportunity opens up with the breakthrough of the 2nd Lancers. The problem the French are faced with are the lack of units available to exploit this with most bogged down. |
 |
| The Brunswick cavalry move to intercept the Guard Lancers but not close enough to mount a charge allowing the latter to form up. A nearby 2 gun Royal Artillery battery is unable to fire canister on the Lancers due to the close proximity of British infantry. They do though fire shot and manage to inflict a couple of casualties among the troopers. |
 |
| Elsewhere on the French left, only one battalion succeeds in crossing the river and making contact with an allied battalion. The 2/1st Voltigeurs of the Young Guard strike the British 2/73rd Line lead by Halkett (middle left). The latter is unformed but still manages to inflict 2 casualties on the French from a ragged volley. The Young Guard battalion is also unformed having waded across the river so lose their charge advantage. The 2/73rd fight tenaciously in the melee defeating the Voltigeurs and forcing them to retreat. The increasingly worn battalions of the French 2nd Division are struggling to mount any meaningful attack with most faltering or in one instance retreating having failed to charge home. |
 |
| On the far left of the allied force, the 4th Cuirassiers who are reforming from pursuit are struck by the 1st Life Guards. The unformed Cuirassiers are heavily defeated and having lost over 50% of their strength disperse from the field. A heavy price for their reckless pursuit! |
 |
| British and Dutch cavalry move to intercept the Cuirassiers streaming over the river before they are able to form up. In the middle of the photo, the 23rd Light Dragoons lead by Dornberg along with the 8th Belgian Hussars charge the unformed 6th Cuirassiers. A disaster for the allies as both units roll low and are defeated despite the advantage of charging and being formed. They will both retreat the next move with the only consolation being that the Cuirassiers have blown horses so will be unable to capitalise on their success. |
 |
| The view from the French side as infantry continue to clear the way for their cavalry. |
 |
| The Brunswick Hussars hoping to catch the French lancers before they had a chance to form up were disappointed to find them counter-charging in good order. The lancers quickly got the better of the Brunswickers forcing them to retreat with heavy losses. In the top right of the photo, the large regiment of the Guard Chasseurs charged across the river at the British 33rd Line. They failed to form square in time and routed which, fortunately for them, placed them beyond the charge range of the Chasseurs. |
 |
| Two more melees occurred on the French left flank with two Young Guard battalions successfully charging into two British battalions, the 2/30th Line and 2/69th Line. Both British battalions were pushed back from the river bank. |
 |
| On the opposite flank, Dutch cavalry sought to repel the Cuirassiers with a surprising degree of success. The charging light cavalry against static unformed Cuirassiers cancelled out the advantage the latter had through their heavier weight and armour. Here the 4th Dutch Light Dragoons lead by Ghigny charged into the 5th Cuirassiers pushing them back. |
 |
| Here the 6th Dutch Hussars heroically lead by Merlen charge the 9th Cuirassiers and have even greater success throwing back the French cavalry into a retreat with heavy loss. Unfortunately for the allies, the price of continually using their commanders to stiffen the resolve of their attacks was paid with Merlen being killed in action. |
 |
| An overview of the French right flank demonstrating their inability to establish a firm bridgehead on the allied side of the river. Both their Cuirassiers regiments that have crossed in the photo will fall back in the next turn. |
 |
| A congested scene with, on the left, Bylandt's brigade brought forward to support the Guards, and on the right, infantry columns march to the rear clearing the way for allied cavalry. |
 |
| The rear of the French right flank has the infantry of the 1st Division reforming. On the left the 4th Cavalry Division make their way to the front. |
 |
| An overview of the allied right flank with several battalions hastily forming square in response to the threat from the Light Cavalry of the Guard. On the right, Estorff has been ordered to intercept the French cavalry but seeing no way across the fence that does not place his Cumberland Hussars at risk, he elects to move around to the allied rear. |
 |
| General Hill is beginning to question the wisdom of his decision to order Ponsonby with the Union Brigade over to his left flank given the danger posed by the French Guard Cavalry. |
 |
| An overview at the end of turn 24. Opportunities are beginning to open up for the French on their left flank with two Young Guard battalions along with the Guard Cavalry making headway across the river. The question will be if they have sufficient surviving manpower to exploit this success. 3 more infantry battalions dispersed from the field this turn with Guye's Young Guard Brigade down to just one battalion. With just 8 turns left before nightfall, pressure is on Grouchy to deliver! |
To Be Continued
The French appear to be moving into some good positions but as you point out, will they have enough troops to be able to exploit the gains currently being made by their cavalry? As always lots of lovely pics of the game to enjoy:).
ReplyDeleteMany thanks for that Steve.
DeletePress on! You can't make an omelette without breaking a few eggs, or as the great man himself said, “a man like me troubles himself little about a million men.”
ReplyDeleteLike it Rob. Press on they shall!
DeleteGreat looking game!
ReplyDeleteMany thanks John.
Delete