This first posting of the action will cover the first two maps and the initial arrival of the Soviet forces. The tabletop will initially represent Map 1 and the bottom half of Map 2 rolling over to the entirety of Map 2 as the Soviets advance.
 |
| MAP 2 |
 |
| MAP 1 |
Continued -
Turn 1
 |
| Units of the Soviet Recce battalion fan out across the approach to the mountain pass. Looking ahead they curse the lack of detail on their maps. |
 |
| 2 rifle-armed recce platoons on the right flank weave their way across the open field towards their the fence boundary. So far so good! |
 |
| SMG platoons move up either side of the main road ensuring it is clear for the approaching main force. |
 |
| On the left flank more rifle platoons tentatively approach a wood scanning for any movement. |
Turn 2
 |
| The motor cycle recce company and a rifle recce company continue towards the pass entrance. |
 |
| Another rifle recce company reconnoitres the wood and so far spots no enemy. |
Turn 3
 |
| Two SMG armed recce platoons using stone walls for cover have still not located any Germans. |
 |
| The recce rifle company tentatively scout the woods finding them empty. |
 |
| The 1st Motorised infantry battalion enters the table. |
Turn 4
 |
| The motor cycle recce company make good progress up the centre of the pass entrance. |
 |
| A recce rifle platoon checks a small unmapped copse but still no Germans. The Russian recce troops become increasingly nervous. Where the hell are they? |
 |
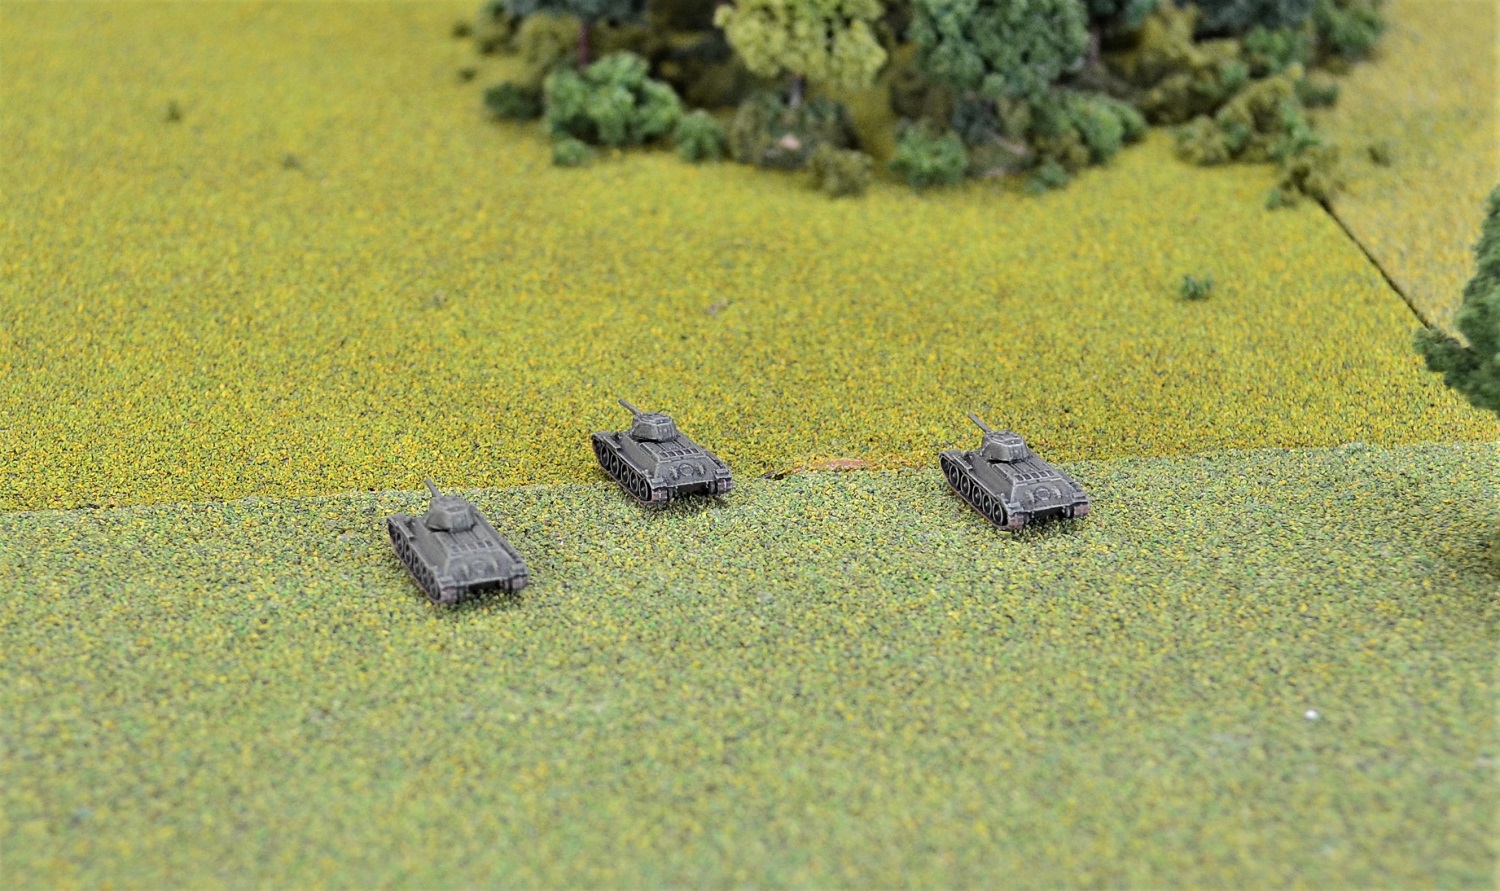
| Meanwhile, following on from the recce troops, the main force begins to arrive thick and fast. 'C' company of T34's rolls through the fields to the right of the main road. |
 |
| On the road itself, the 1st motorised battalion is followed by the Regimental CO and the 120mm mortar battalion. |
 |
| Ahead of 'A' company of T34's and their HQ tank, one of two sniper rifle teams rush to take up position. |
 |
| 'B' T34 company makes up the last of the battalion taking the left flank. |
 |
| The first overview of the entire battlefield at the end of turn 4. Half of Map 2 is represented by the first 2 terrain boards nearest the camera. A reminder that my terrain boards are based on 9" sections and therefore 4 x 4 will cover one map area. |
Turn 5
 |
| Another unmapped feature is discovered! A small farm which is checked out by a recce rifle platoon and still no sign of any Germans. |
 |
| Recce troops continue to scout around the mountain pass entrance without contact. |
 |
| Having passed through the copse, another rifle platoon makes towards a large wooded hill. |
 |
| As the tanks pass through, the 1st Motorised battalion debuses. |
 |
| Having clambered out of their trucks, the infantry now prepare to climb aboard the T34's. |
 |
| A furious battalion tank commander roars over to 'B' company to ascertain why they are not moving. A chastened company commander sheepishly admits to rolling a double '6' generating a command blunder. And then...... he rolled another double '6' to confirm what that blunder was. His CV would be reduced by half the roll of a single D6 for the entire game. He rolled a '6'!!!! His CV was now 4 meaning he would be next to useless for the entire campaign. The battalion commander was apoplectic! To get this damn company to do anything he would have to remain with it or certainly reasonably close. |
 |
| An overview at the end for turn 5. |
Turn 6
 |
| The Russians keep on coming! |
 |
| The 120mm mortar battalion now fully deployed with the 2nd Motorised battalion arriving along the road. |
 |
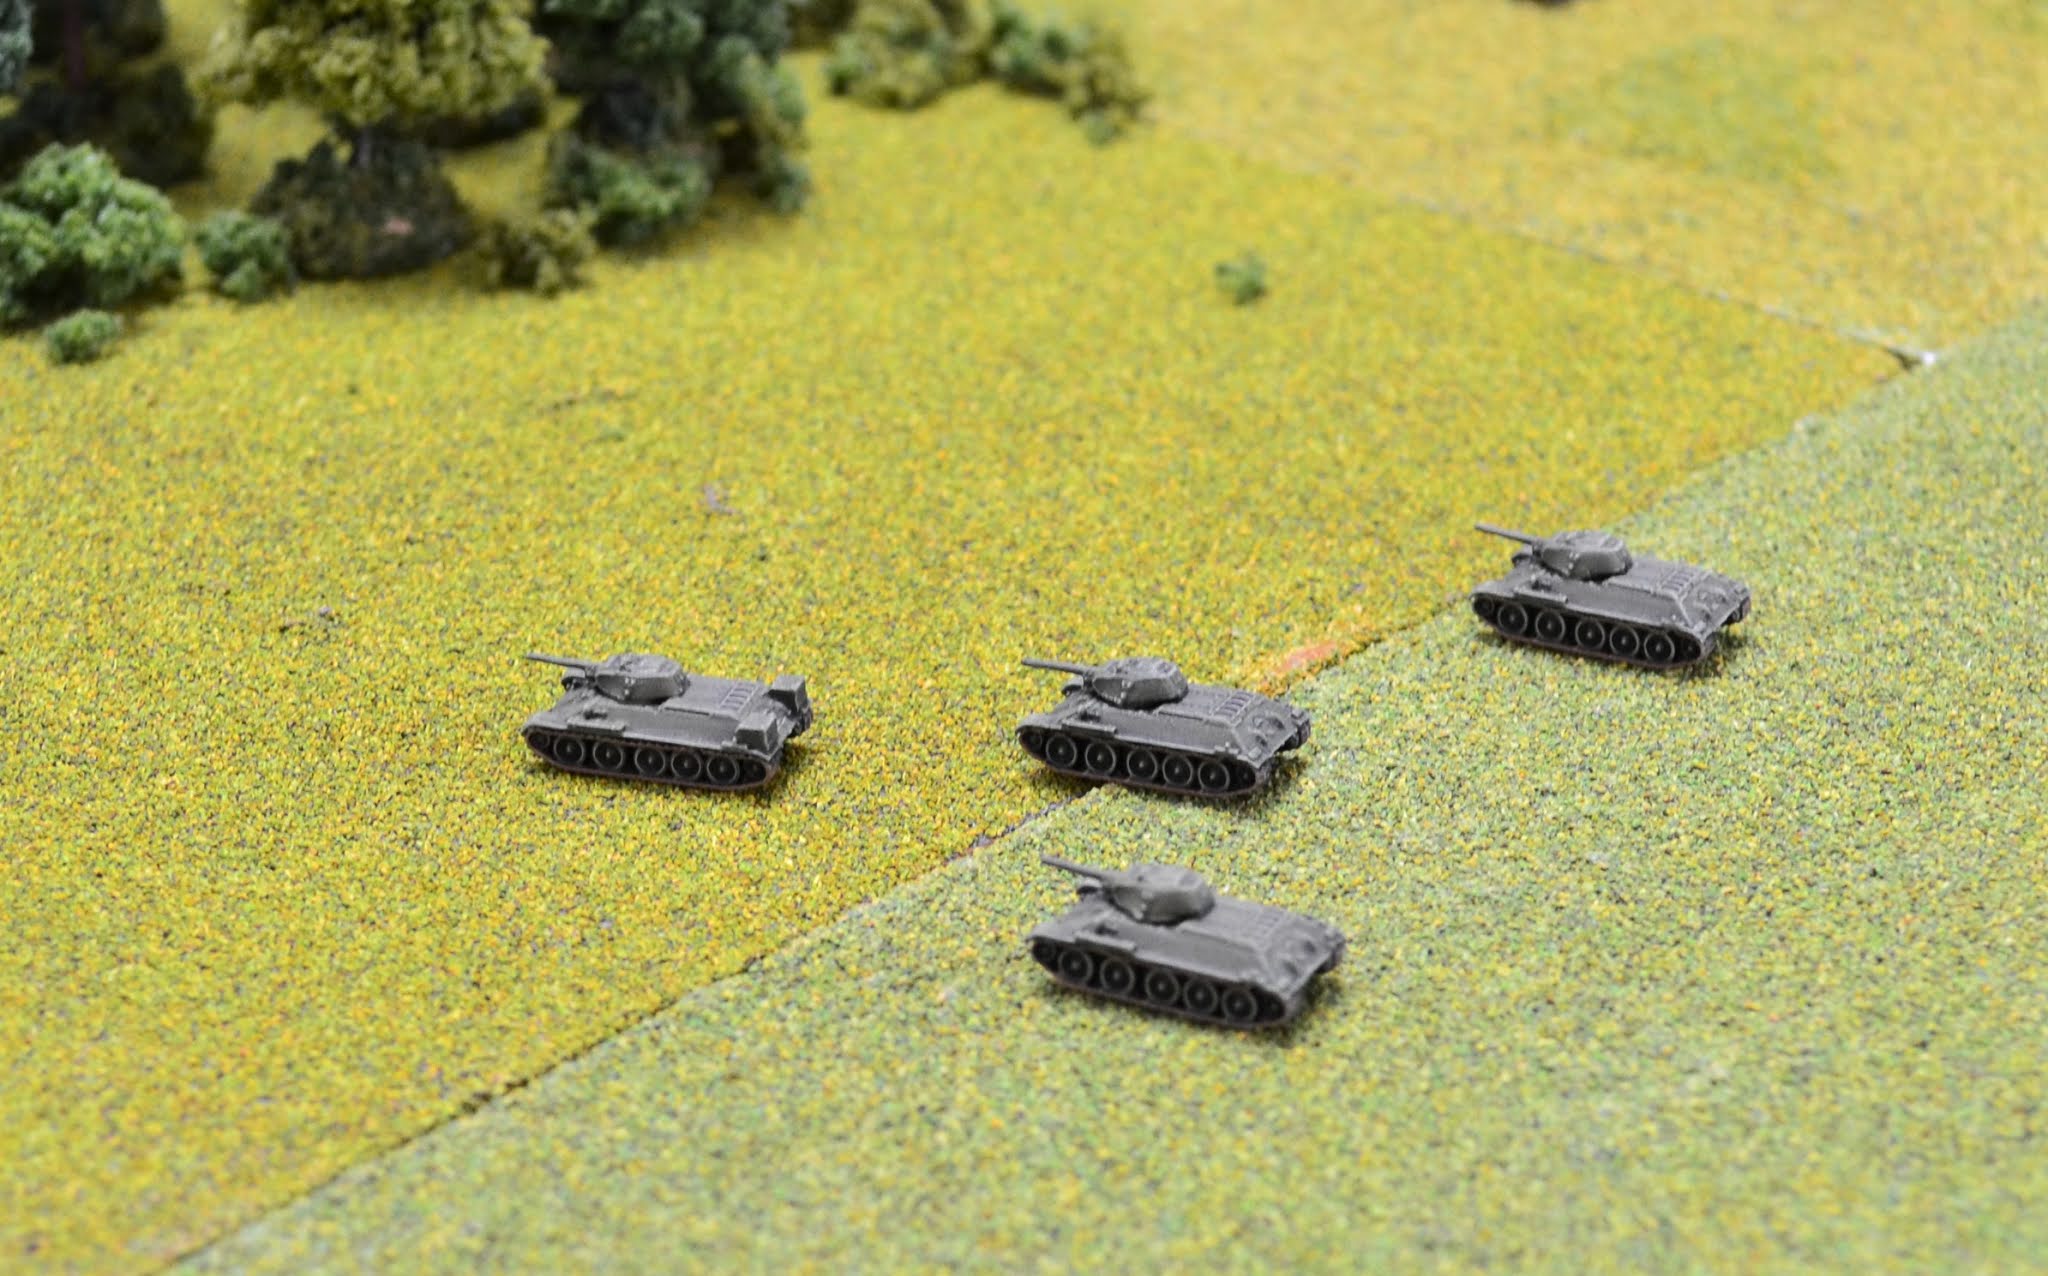
| 2 companies of the 1st motorised battalion are now riding T34's towards the mountain pass. To the right the HMG company moves forward. |
 |
| It's almost as if all those 6's has befuddled their brains. 'B' company will not even move for the Battalion commander! Even more frustratingly, gunfire is heard from the direction of the mountain pass. |
 |
| The Recce battalion along with the two sniper teams continue to move into the mouth of the pass ahead of the main force. |
 |
| As one of the rifle recce companies weave their way towards a large wood they spot movement. Before they can discover what that movement is, gunfire erupting from the woods edge answers it for them. |
 |
| The accuracy of rifle fire coming in their direction proves unnerving for the Russians with one platoon becoming suppressed having sustained 2 hits. |
 |
| The 2nd platoon also sustains 2 hits but avoids becoming suppressed. They observe more of the Germans and realise they had come up against the SS! |
Turn 7
 |
| As Russian reinforcements continue to arrive, the Regimental CO receives an urgent call from a recce unit requesting mortar support onto the wooded hill. The CO calls up the 120mm mortar battalion. Silence! |
 |
| The recce unit that had communicated with the Regimental CO has now dived into cover behind the stone wall of the farmyard (opposite side of building in photo). They wait in anticipation for the heavy mortar shells to land. To their dismay there is no erupting earth in and around the woods. The cost is immediately apparent. The recce platoon recovering from suppression was now the target of the German units. They were cut down to a man. The first loss of the campaign. |
 |
| 'C' company of T34's carrying a company of riflemen burst through a stone wall and roar towards the German position. (As I have no model tank riders, I position the relevant infantry bases to the rear of the tanks signifying they are riding them. Not ideal and one day I hope to model them.) |
Turn 8
 |
| An overview showing the good progress made by the 2nd motorised battalion still in their trucks travelling along the road. At the bottom left 'B' company of T34's have finally got moving albeit slowly. |
 |
| The 3rd motorised battalion arrives with no transport. Needless to say they are lagging behind the rest of their regiment. |
 |
| The Regimental CO gets through to the mortar battalion on the second attempt. Shells fall in and around the woods to the cheers of the nearby Russian troops. |
 |
| One company of tank riders have deployed from their tanks and run towards the woods (upper middle). The other company did not get the message and are still on their tanks (middle left). The only Russians in a position to open fire are the recce platoon in the farmyard and a sniper team in the copse (upper middle). As they fire into the woods there is a noticeable lack of response. Had the Germans been wiped out? You may notice a red micro dice in the woods signifying one unit suppressed. |
 |
| A recce company seeks to outflank the woods moving around its eastern side. |
Turn 9
 |
| An overview showing the excellent progress of the 2nd Motorised battalion still in their trucks but now held up by Germans holed up in the woods. The 2nd half of Map 2 has now been added. |
 |
| Russian troops mass to clear the woods but fail to do any real damage. The T34 company rolled a command blunder but fortunately for them they came out unscathed. |
 |
| Germans now begin spilling out of the woods towards their waiting half track (Sdkfz 250/1). |
 |
| An overview from the north with the newly added half of Map 2 in the foreground. |
Turn 10
 |
| The 2nd Motorised battalion has now halted awaiting the green light to advance further. At the bottom left, 'B' company of T34's with the battalion HQ tank leading is finally making good progress. |
 |
| Recce units observe the Germans attempting to make their escape and with that, all available infantry and tanks near the woods rush to intercept them. The Russian see a chance of wiping out what appears to be a small German force, and purely recce infantry at that. Other Russian recce units enter the woods to confirm if they are clear. |
 |
| A recce company along with a sniper team move around the opposite side of the woods ensuring there are no other Germans unaccounted for. |
 |
| One German platoon boards the half track with the other two covering their retreat. One of those is equipped with a Panzerfaust and secretes itself behind a stone wall. |
 |
| To the Russian rear, various formations are advancing along the road. The trucks of the 1st Motorised battalion are instructed to move closer to their dismounted infantry should they be needed. |
Turn 11
 |
During the initiative phase, the Russians wasted no time with a rifle platoon from the 1st motorised charging into close combat with the Panzerfaust equipped platoon. They are supported by a T34 and infantry. The Germans pour accurate fire into their attackers causing heavy casualties resulting in them being suppressed during the combat.
The Germans deal a crushing defeat on the Russians, destroying the platoon with two supporting units, including the T34, retreating suppressed. |
 |
| The 1st motorised battalion are dispersed from the front of the action almost to the rear (lower right) causing the battalion commander some consternation. The Regimental CO agrees that they must reform or risk becoming fragmented and difficult to control. |
 |
| The aftermath of the brief fight. The defeated Russians buys the Germans enough time to pull back. The T34 commander now arrives with 'B' company (lower middle). |
 |
| Recce units have passed through the woods confirming all clear. |
 |
| The Germans are about to leave Map 2 now well clear of the Russians. |
 |
| Superior command saved the day for the Germans - so far! |
Turn 12
 |
| With the Recce battalion in the lead, the Russians pursue the retreating Germans. |
 |
| Having rallied from the shock of defeat, the recovered units prepare to join in the pursuit. |
 |
| Looking back along the strung out Russian force. |
 |
| The Russian artillery battalion with 76mm field guns breaks away from the traffic jam allowing it to fully deploy. |
 |
The scene at the end of turn 12. The Russian advance has ground to a snails pace to allow for the advance units to regroup for the next phase.
With Map 2 now captured I will conclude this posting. Which map will it be next? |


Superb AAR Jon and as always a beautiful table and figures, both a joy to behold. The Russians really got off to a bad start with that command unit halving its CV for the entire campaign. Maybe he needs to be re-assigned to Siberia or taken to one side and shot for incompetence;)
ReplyDeleteFollowing the action you really got the sense of the Russians scouting ahead, trying to find the enemy before they could surprise those tempting columns of trucks with artillery fire etc.
Really looking forward to the next AAR and to see which map is next.
Many thanks for that Steve.
DeleteThat's a beautiful looking game. I don't know what rules you're using but it was a good read.
ReplyDeleteMany thanks Ian. Rules are Blitzkrieg Commander IV
DeleteJon, you do have an impressive way with this scale. Looks very good indeed.
ReplyDeleteCheers,
Ion
Many thanks Ion.
DeleteExcellent start and AAR Jon and magnificent table/scenery. Looking forward to the next map.....
ReplyDeleteMany thanks BKC.
DeleteHi Jon, very interesting, the Russians do seem very strung out which as a Commander must be worrying.
ReplyDeleteRegards Peter
One of the problems for the Russians is their rather dodgy command quality combined with short command range. Difficult to keep them all together. And that is with me adding company commands rather than just the battalion HQ.
DeleteExcellent opening to the story. Poor Battalion Commander though, to found so wanting, curses to double six!
ReplyDeleteThanks Norm. I had to chuckle at all those 6's in succession!
DeleteWonderful narrative and table usage. Add to that the true strength of using 6mm to game the era. Hat's off to you, first visit but I will be back.
ReplyDeleteMany thanks Pancerni. Welcome to the blog.
DeleteJon, an ungodly hour I know but I'm in the middle of revamping all my terrain and only just finished for the night now lol. Something I noticed in Part 2 and meant to ask but never got around to it. The walls lining the roads and around the small farm....are they commercial or did you build them yourself ? They look really good and as I now make most of my own terrain I would be very interested to know your secret to the walls if home made. Snake rail fencing, for ACW, is another item which has defeated me in 6mm too. Cheers, Karl
ReplyDeleteHi Karl. The walls are home made. I have used artist card for basing to match the depth of most of my 6mm bases. The stone I believe is ballast for OO scale railways (bought years ago so cannot be sure) but any small stone/gravel will do. A line of PVA glue was brushed along the centre of the base and gravel poured on. Once dry I added 3 or 4 more layers to build up height with each layer allowed to dry first.
DeletePainted a dark grey, black wash added and then drybrushed a succession of lighter greys finishing with off-white (3 shades in total).
Hope that gives you some idea. Reasonably quick to do and cheap.
All the best
Jon
Super Game Jon, makes me want to break out the tiny Panzers. I used BKC2 and own BKCIV, but haven't used them in anger yet.
ReplyDeleteCheers from Oz
Many thanks for that Steve. BKCIV is very similar. The new Recce section requires a few reads (or at least it did for me) to get your head around it. I have though been tinkering a little..... can't help myself!
DeleteMany thanks Jon for the wall info, much appreciated. A slightly more reasonable hour here now lol. On the assumption your walls were homemade and also having an idea of what you did, I called into a pet shop today, and as luck would have it, they had aquarium gravel in 2-3mm in winter colour (grey/black). I now have enough to build walls from Berlin to Moscow lol. Thanks again, I'll be late tonight...walls, walls and more walls.
ReplyDeleteKarl
You can never have too many walls Karl... or fences! Just when I think I have made enough I find I need considerably more!!
DeleteThis developed brilliantly Jon. The reconnaissance troops, then the tanks streaming ahead, protecting and then joined by the motorised infantry and, finally, the rearguard elements of the Germans 'unveilled'.
ReplyDeleteAbsolutely superb terrain, as you always produce. Those full shots of the table look wonderful.
Regards, James
Great AAR Jon! Very evocative advance to contact for the Russians.
ReplyDeleteI bet seeing all those trucks lined up down that road the Germans were cursing that they did not have much Arty support!
Many thanks E Gilhead. Definitely a 'Rorkes Drift' feel about it for the Germans.
DeleteWhat a wonderful looking table! Great AAR.
ReplyDeleteMany thanks Peter
Delete