This is the first battle in the Kingmaker campaign with my son, Jack. A reminder of how this battle has occurred:
In the early moves of the campaign it was very much a case of assembling forces and identifying the best way of capturing Royal Pieces. Jack developed a clear lead on this gaining control of George of Clarence and Edward Earl of March. He had also assembled a sizeable force in the vicinity of London threatening to capture King Henry VI who was in residence there. I, on the other hand, controlled nobody!
I saw an opportunity though of capturing George of Clarence from Jack who was busily attempting to evacuate him through the port of Milford Haven (south west tip of Wales). I sent a force under the command of none other than Neville - Earl of Warwick (The Kingmaker) together with Nobles, Clifford, Scrope and Cromwell towards Milford Haven with the intention of intercepting Jack's force before they could embark their ships. Using the road network I achieved my aim and Jack's force under the command of Stafford - Duke of Buckingham with Hastings - Earl of Worcester moved out to meet my force.
Buckingham positioned his force across a valley blocking Warwick's advance.
Buckingham positioned his force across a valley blocking Warwick's advance.
Scale = 6mm
Figures = Baccus
Rules = My own*
Table size = 3'9" x 3'
* A brief note about my rules. They use the basic General de Brigade engine but heavily reworked for ancients/medieval. They are very much a work in progress. Readers familiar with General de Brigade will recognise some of the mechanisms used in the after action reports.
Orbats:
JACK:
CinC Stafford - Duke of Buckingham
1 x 9 Mounted Men-at-Arms
1 x 18 Dismounted Men-at-Arms
1 x 18 Retinue Archers
1 x 12 Northern Border Staves (light cavalry)
1 x 30 Northern Border Spearmen
1 x 18 Northern Border Archers
2 x 36 Burgundian Crossbowmen
1 x 24 Burgundian Handgunners
Hastings - Earl of Worcester
1 x 18 Dismounted Men-at-Arms
1 x 18 Retinue Billmen
1 x 36 Retinue Archers
1 x 24 Shire Levy Billmen
1 x 30 Shire Levy Archers
2 x Light artillery
Total - 335
JON:
CinC Neville - Earl of Warwick
1 x 12 Mounted Bodyguard Men-at-Arms
1 x 6 Currours
1 x 24 Dismounted Men-at-Arms
1 x 24 Retinue Billmen
1 x 30 Retinue Archers
1 x 24 Welsh Spearmen
1 x 36 Welsh Archers
Clifford
1 x 18 Shire Levy Billmen
1 x 36 Shire Levy Archers
2 x 48 Scots Archers
Scrope
1 x 18 Shire Levy Billmen
1 x 36 Shire Levy Archers
1 x 36 Saxon Pikemen
Cromwell
1 x 12 Dismounted Men-at-Arms
1 x 18 Retinue Archers
Total - 426
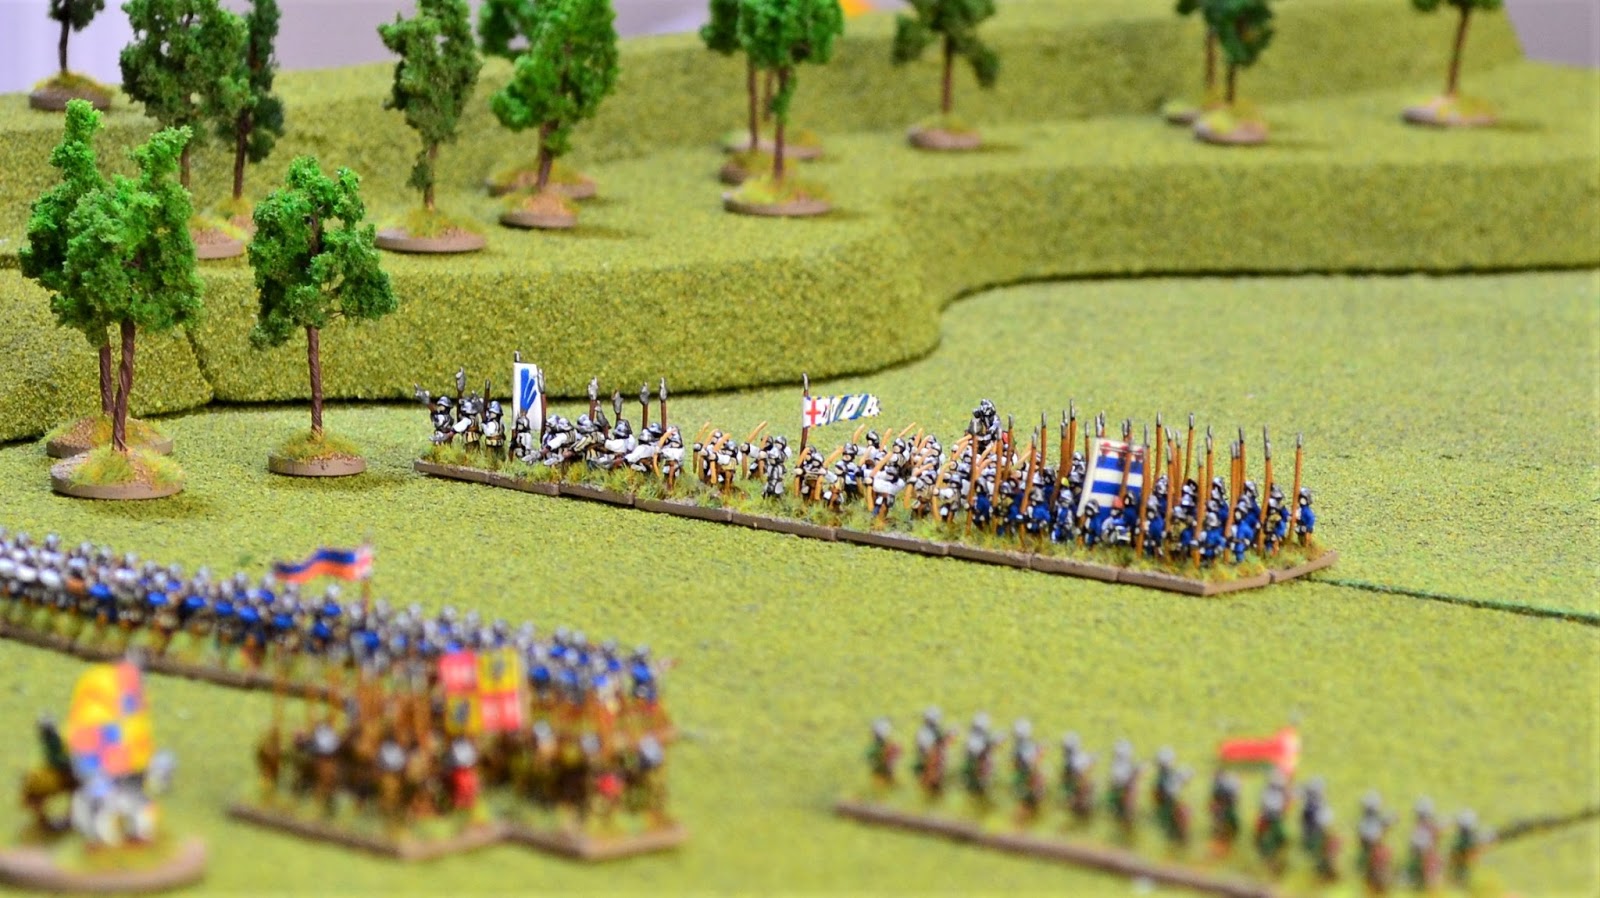
 |
| Initial dispositions |


The valley is flanked by steep wooded slopes impassable to all but skirmishers.

Warwick contemplates his plan of attack.
 |
| Buckingham is concerned about the numbers arrayed before him. |

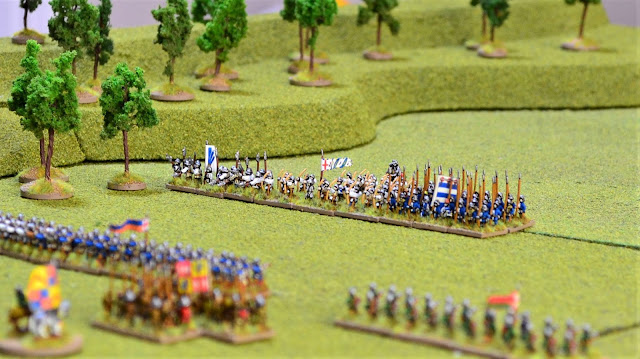
The early moves see both sides move out towards each other. As soon as they are in longbow range, Buckingham halts his force maintaining his formation.
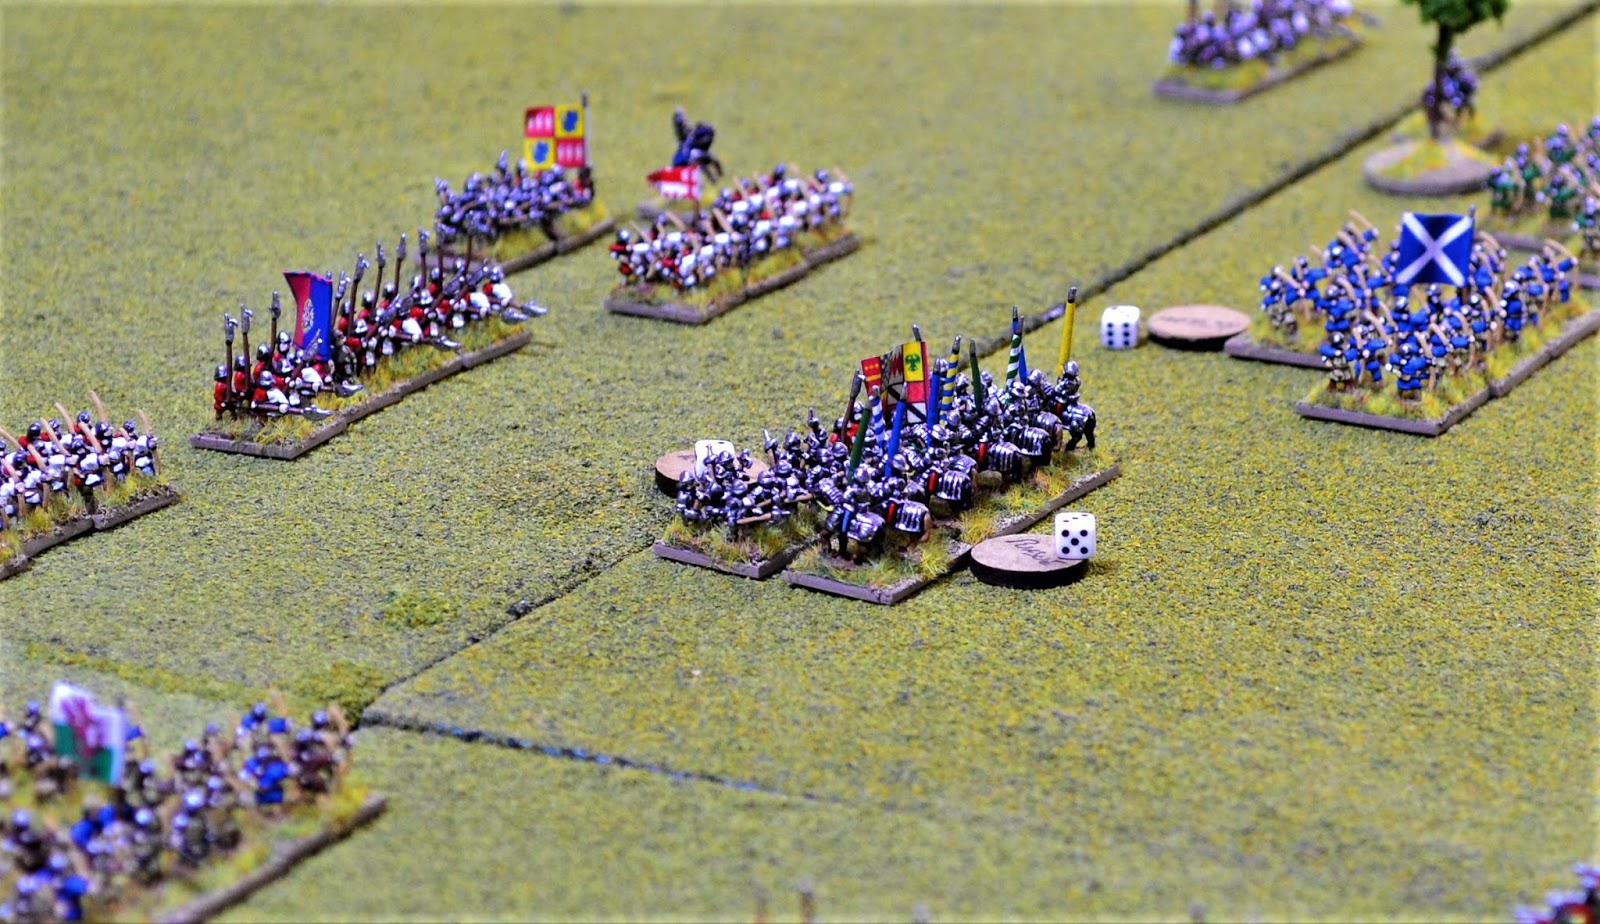
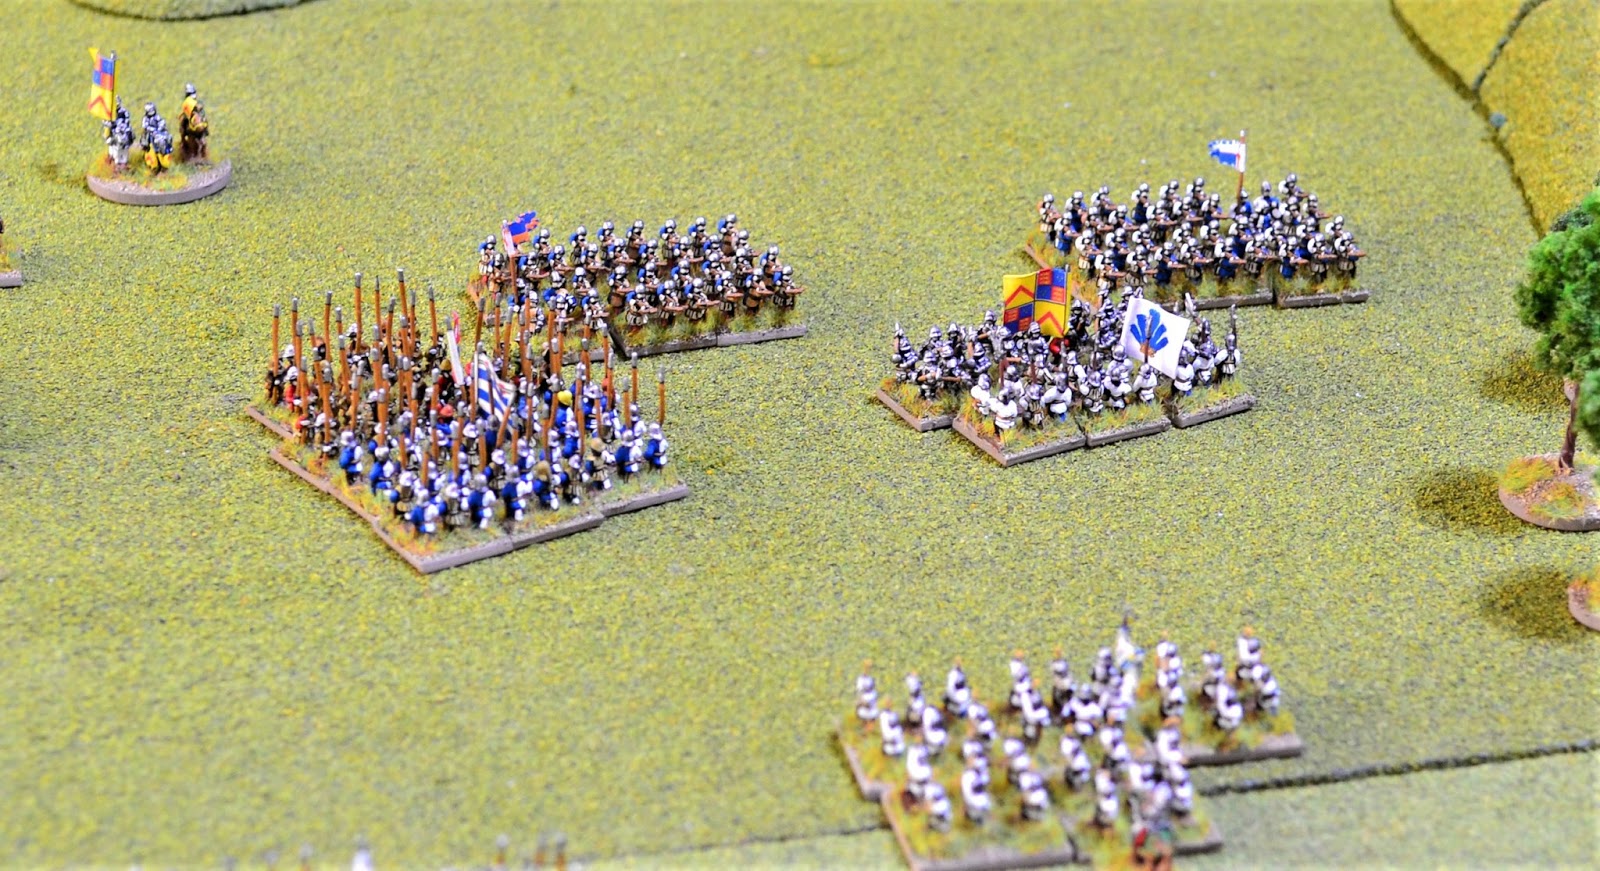
Warwick suffers from command and control failures with his line becoming disjointed. Clifford's battle (top of photo) pays the price as the sky is filled with arrows. Most descend on one of the Scottish archer formations inflicting several casualties causing them to falter. An exchange of arrows continued down the line with relatively minor casualties inflicted on the other units at this range.
 |
| The faltering Scots archers. |
 |
| A closer view of the Earl of Warwick (centre left) with his Currours. |
 |
| Likewise the Duke of Buckingham behind his Northern Border troops. |
 |
| The Earl of Worcester provided Buckingham with 2 pieces of artillery. |
 |
| Burgundian Crossbowmen and Handgunners. |
The Burgundian Crossbowmen roll a double six as they open fire on the company of Welsh archers.
 |
| The centre of Warwick's line consisting of his retinue troops. |
The Welsh archers in the foreground are the target of the crossbowmen. They lose 5 casualties but luckily Warwick escapes injury. The archers become unformed.

Buckingham has now halted his line enabling more of his archers to fire and with a higher degree of accuracy. Casualties continue to mount on the advancing forces of Warwick as arrows rain down on them.
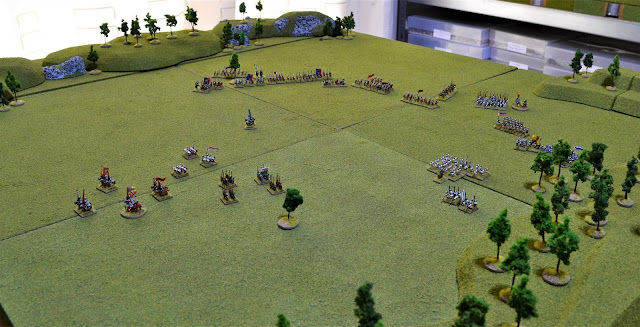
Warwick orders Clifford on the left and Scrope on the right to quickly bring their battles into contact with the flanks of Buckingham's army. He hopes to draw away troops from Buckingham's centre to protect his flanks before he launches the main assault through the centre.

Warwicks' advance is broken up through command failures and adverse morale checks as a result of casualties sustained during the advance.

The situation is not helped when, for several turns, the Saxon Pikemen take it upon themselves to hide behind a tree! This all but halts Scrope's advance.
With his flank attacks bogged down, Warwick now must restore his line quickly or he could face a defeat in detail.
The inevitable happens when Buckingham seizes the opportunity of Warwick's disorderly advance and orders his mounted men-at-arms to charge Warwick's dismounted men-at-arms. The charging knights suffer one casualty from a nearby company of archers before charging home. The impact breaks up Warwicks dismounted men-at-arms who suffer 7 casualties inflicting 2 in return. Warwick's troops will retreat next turn with Buckingham's launching into an uncontrolled pursuit.

More punishment was inflicted on the blue coated company of Scots archers by the two artillery pieces and archers. They failed a morale test as a result and will retreat the next turn.

 In the next turn the retinue archers of Worcester's Battle (red archers in photo) took it upon themselves to launch a charge in the command phase. Jack wisely ordered Worcester's dismounted men-at-arms to join in with the charge. As they descended on the green-coated Scots archers the latter loosed off their arrows at close range..... and rolled a double '1'! The cloud of arrows flew over the heads of the attackers missing them completely. Encouraged by this, Worcester's men charged home.
The Scots stood their ground as the two attacking bodies of men rammed into them. The heavily armoured men-at-arms carved into the lightly equipped archers who, in reality, stood little chance. They were resoundingly beaten losing 14 casualties and inflicting 4 in return. They subsequently routed and would be pursued by the men-at-arms.
 Buckingham's mounted men-at-arms pursued the retreating men-at-arms of Warwick which brought them into contact with Warwick's retinue billmen.
 The billmen lost 5 inflicting 3 in return and they would be pushed back the next turn. The dwindling numbers of Buckingham's mounted men-at-arms were not deterred by their losses and they would again pursue their defeated enemy.
 The Northern Border Staves of Buckingham's Battle were initially hesitant in launching a charge. Having halted in their first attempt they had no such qualms second time around as they charged the Welsh archers. They lost one to arrows as they charged home. Although light cavalry, the Border Staves made light work of the archers who lost 5 of their number inflicting 1 in return. The archers routed and would be pursued by the light cavalry.
 In the morale phase, I looked on despairingly as my forces started to dissolve! Clifford's Battle broke (top of photo) which resulted in all units moving down one in morale. So good order units faltered, those faltering retreated and so on. This meant that both units of Scots archers dispersed from the field. My left flank which had looked so promising at the start, now looked decidedly precarious.


 Disaster struck as Warwick's command broke in the morale phase. All his troops streamed from the field just leaving Scrope and Cromwell in the fight.

 Scrope's final throw of the dice saw the pikemen finally destroy the Northern Border Spearmen. The Staves on their flank failed to charge home but it all counted for nothing.


Several melees occurred the next turn as a number of Jack's units went onto the attack.

The Scots stood their ground as the two attacking bodies of men rammed into them. The heavily armoured men-at-arms carved into the lightly equipped archers who, in reality, stood little chance. They were resoundingly beaten losing 14 casualties and inflicting 4 in return. They subsequently routed and would be pursued by the men-at-arms.


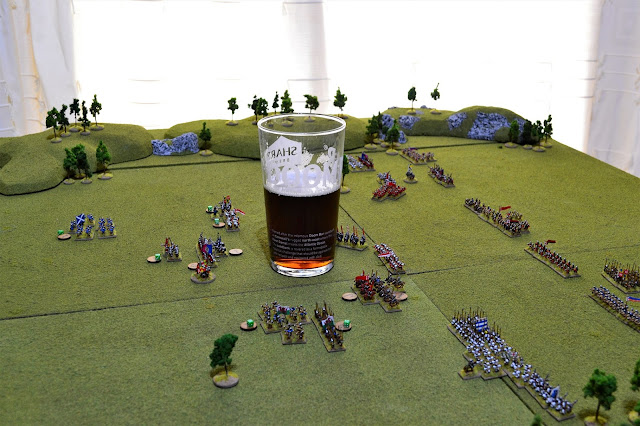
I made my feelings known! As the glass says, "Doom".

Worcester's retinue billmen wasted no time in charging the faltering archers of Clifford's command. They inflicted 10 casualties for no loss causing the archers to rout. The billmen threw a superb discipline pursuit test result.

The Border Staves pursuing the routing Welsh archers now clashed with the Currours of the Earl of Warwick. Both sides fought each other to a standstill with each losing 1 casualty. The melee would continue the next turn.
Scrope's Battle on my right flank finally brings some order to his command and is ready to assault Jack's left.


Two views of the end of the turn. The unit circled is what is left of Buckingham's mounted men-at-arms. They had just routed Warwick's billmen and now found themselves some distance behind my lines. They had carved a destructive path through my forces, but they no longer concerned me as they had virtually ceased to exist as a unit.
Of more concern to me was the fact that Clifford's Battle had now completely routed from the field. My left was now held by Cromwell and his 12 dismounted men-at-arms (middle far left). My last chance was to inflict a punishing charge on Jack's right by my mounted men-at-arms (middle left) who were also Warwick's bodyguard. At the same time, Scrope was to launch his long awaited charge on Jack's left (middle right of photo).

At long last, Scrope launches his assault. On the left his Saxon Pikemen are counter-charged by the Northern Border Spearmen. On the right his Shire Levy billmen are counter-charged by Buckingham's dismounted men-at-arms.
The Saxons with their pikes levelled prove too much for the shorter spear-armed troops of the Northern Borders. The result is devastating with the spearmen losing 15 to the pikemen's 3. The spearmen will retreat pursued by the victorious Saxons.
The clash between the billmen and men-at-arms proves to be a stalemate. However, the heavier armour of the men-at-arms counts and they only lose 4 to the billmen's 7. The melee will continue.

The Currours overcome the Norther Border Staves who are pushed back. The Currours pursue but find their path blocked by the Burgundian Handgunners.

On the opposite flank, Cromwell leading his small band of men-at-arms charge into Worcester's billmen. The both lose 3 casualties and the melee continues.
Meanwhile I was about to charge my mighty bodyguard when:

Jack having won the initiative charged with his pesky mounted men-at-arms. All 3 of them! Despite having lost most of his men which meant a heavy penalty when testing morale to charge home, they damn well succeeded. I did not have time to turn to meet them and they struck my bodyguard in the flank. Warwick looked on in horror as Buckingham's knights rolled up the flank of his prime men-at-arms. They lost 5 inflicting just 1 on Buckingham's men. They were forced to retreat losing the chance to sow their own path of destruction.


The end of the turn signalling it was all but over for me.


The final photos shows the victorious forces of the Duke of Buckingham.
The George of Clarence remains safely in the custody of Buckingham. Warwick, Clifford, Scrope and Cromwell are brought before Buckingham. Their household troops have been hunted down and butchered. Their mercenary forces had no problem switching sides and were now employed by Buckingham and Worcester.
Neville, Earl of Warwick, confidently invites Buckingham to take them into safe custody for ransom to be paid. "Of course" Buckingham replies with a friendly smile.
The following day four neatly tarred heads adorn poles placed before the entrance to the port of Milford Haven.
Neville, Earl of Warwick, confidently invites Buckingham to take them into safe custody for ransom to be paid. "Of course" Buckingham replies with a friendly smile.
The following day four neatly tarred heads adorn poles placed before the entrance to the port of Milford Haven.
Nice, a much thinned battlefield by the end. I smiled at the Pike stuck behind the tree, it reminded of the Blazing Saddles sketch, where they got held up at a toll booth standing isolated in the middle of a wilderness.
ReplyDeleteI can recall that Norm. Very funny. I was beginning to think they were never going to pass around the tree. They seemed transfixed!
DeleteGood gracious, what a disaster for Warwick!
ReplyDeleteI (Warwick) was confident of success and Jack was convinced he was going to lose. In the end not even close!
DeleteBTW, your troops look marvelous, Jon!
ReplyDeleteThanks Peter. They were nice figures to paint.
DeleteHi Jon,
ReplyDeleteI just found this AAR. I was just wondering if you had made any progress with the rules. I normally use DBA for medieval games, but they are not great for WotR. If you are able to share your adapted GdB rules they sound very interesting!
Many thanks,
Edward
Hi Edward. They are very much a work in progress and only on a rather extensive QRS (6 pages). You are welcome to a copy but you may want to play around with it to suit your own style. A bit like WRG it is aimed at Ancients through to Medieval and I have imported ideas from a variety of rules. I have it in Open Office format.
DeleteHi Jon,
DeleteIt would be great if you could pass them over. As I said, we normally use DBA at the club, but we are open to try out different sets, and I personally would like something that picks up moral more than DBA does! Do you still have my email?
Thanks,
Ed :)
Hi Ed,
DeleteIf you let me have your email I will send them over to you.
This comment has been removed by a blog administrator.
DeleteThis comment has been removed by the author.
Delete