With the blog having switched to a nautical theme over recent weeks, I post here an update on naval painting, in particular aircraft carriers. I have purchased some flight deck decals from "Flight Deck Decals" (link on the right) which really are superb. They do require some trimming to fit as closely as possible the Navwar models and many are also suitable for Davco. The current naval painting bug has inspired me to crack on with aircraft carriers in particular to utilise these decals.
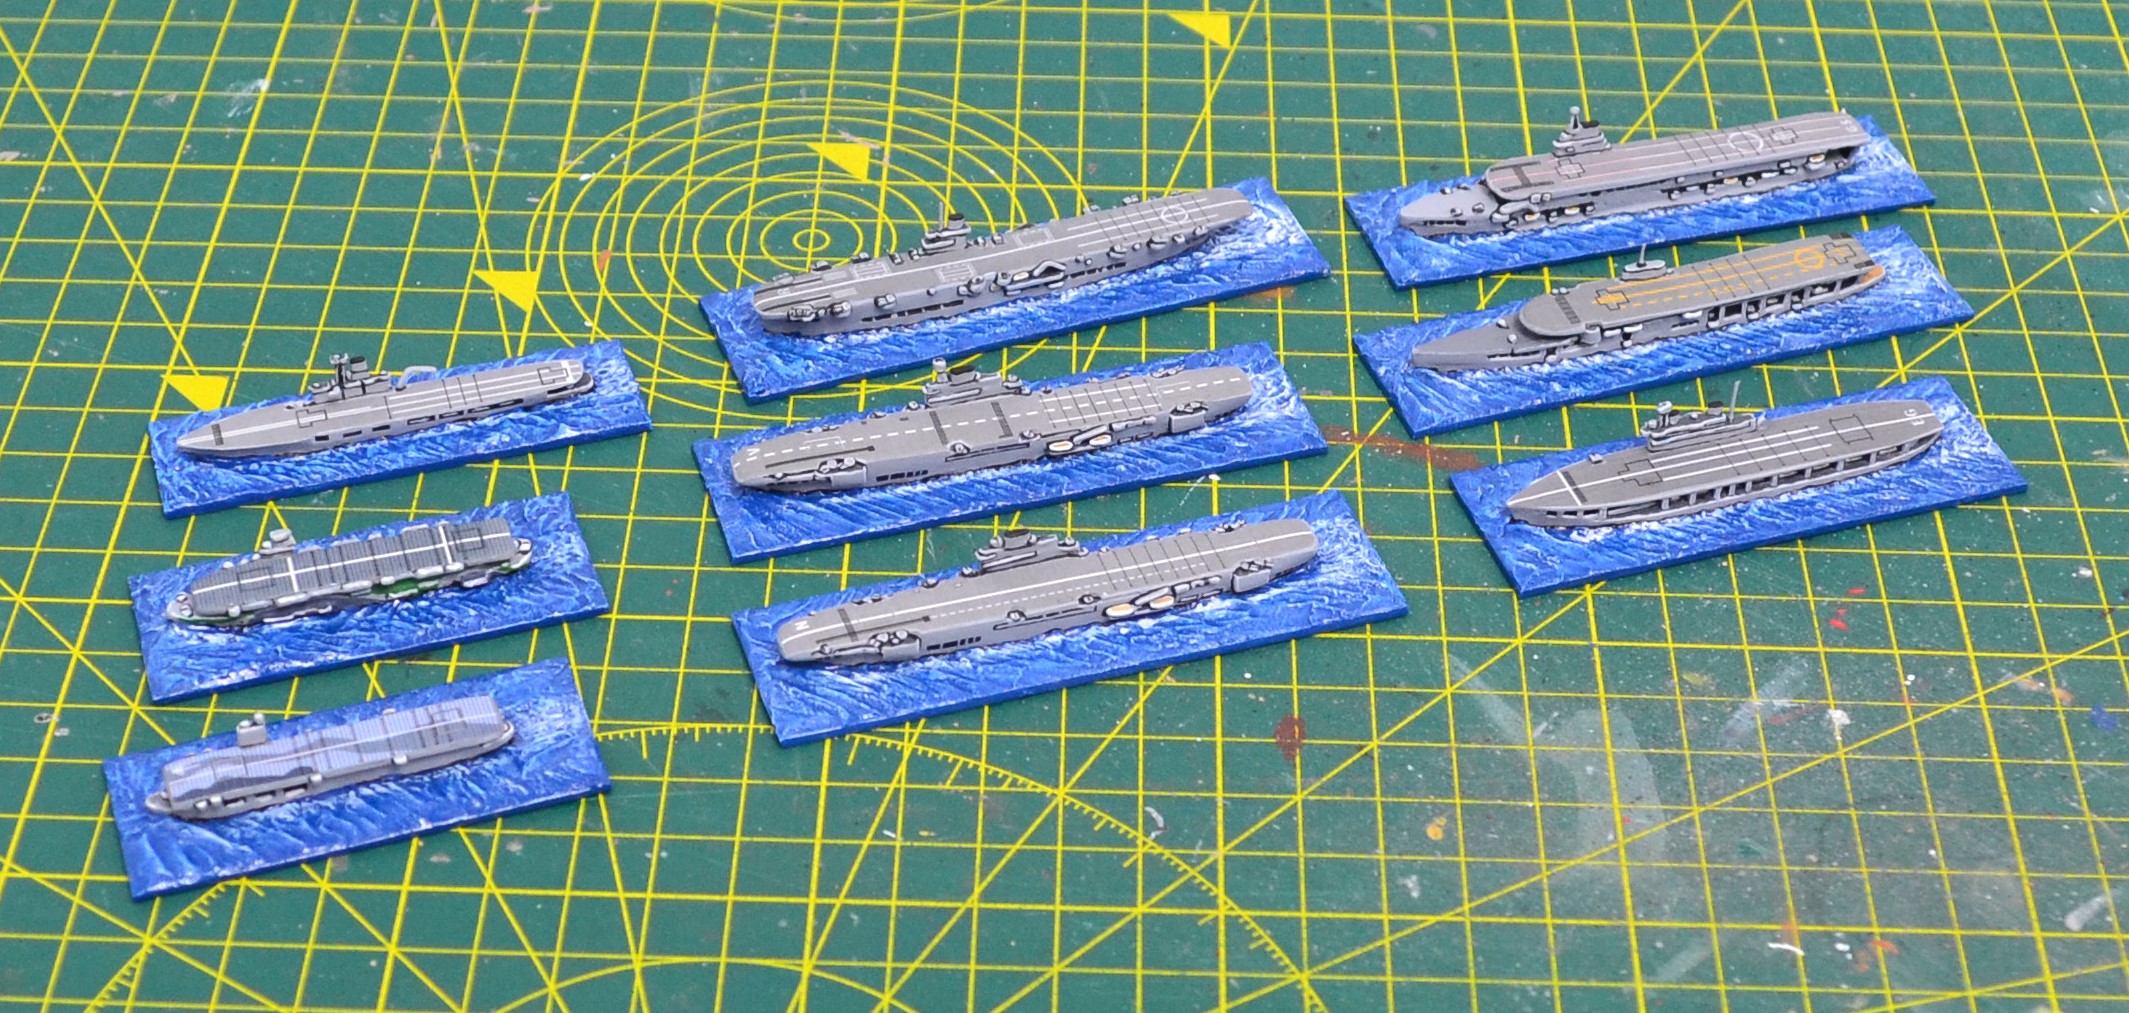 |
| Royal Navy carriers (all Navwar) from left to right: Top row; Hermes, Ark Royal, Glorious Middle row; Ameer, Victorious, Furious Bottom row: Biter; Indomitable, Eagle |
Continued -
 |
| A closer look at the Ark Royal. This model is 30 - 40 years old and was caked in old paint. So much so that I had almost written it off. A good dousing of nail varnish remover managed to strip most of the old paint leaving a respectable looking model. I am particularly pleased with the end result given its age and the state it was in. |
 |
| Although this post focuses on aircraft carriers, I include here a repaint job of the Rodney. It is of similar age to Ark Royal and also caked in old paint. |
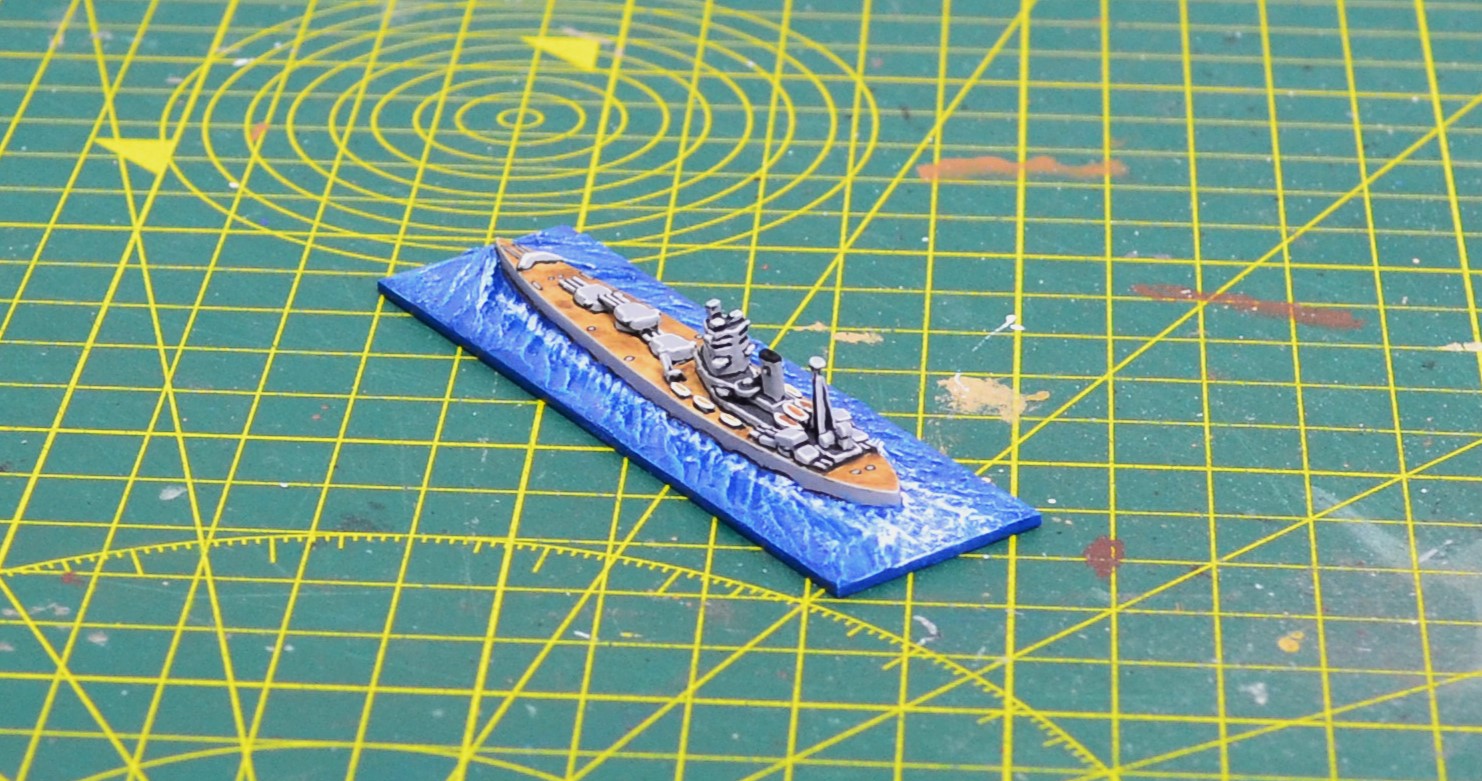 |
| Rodney |
 |
| USN carriers: Top; Yorktown, Wasp Bottom; Saratoga (Davco model) |
 |
| USN Carriers. |
 |
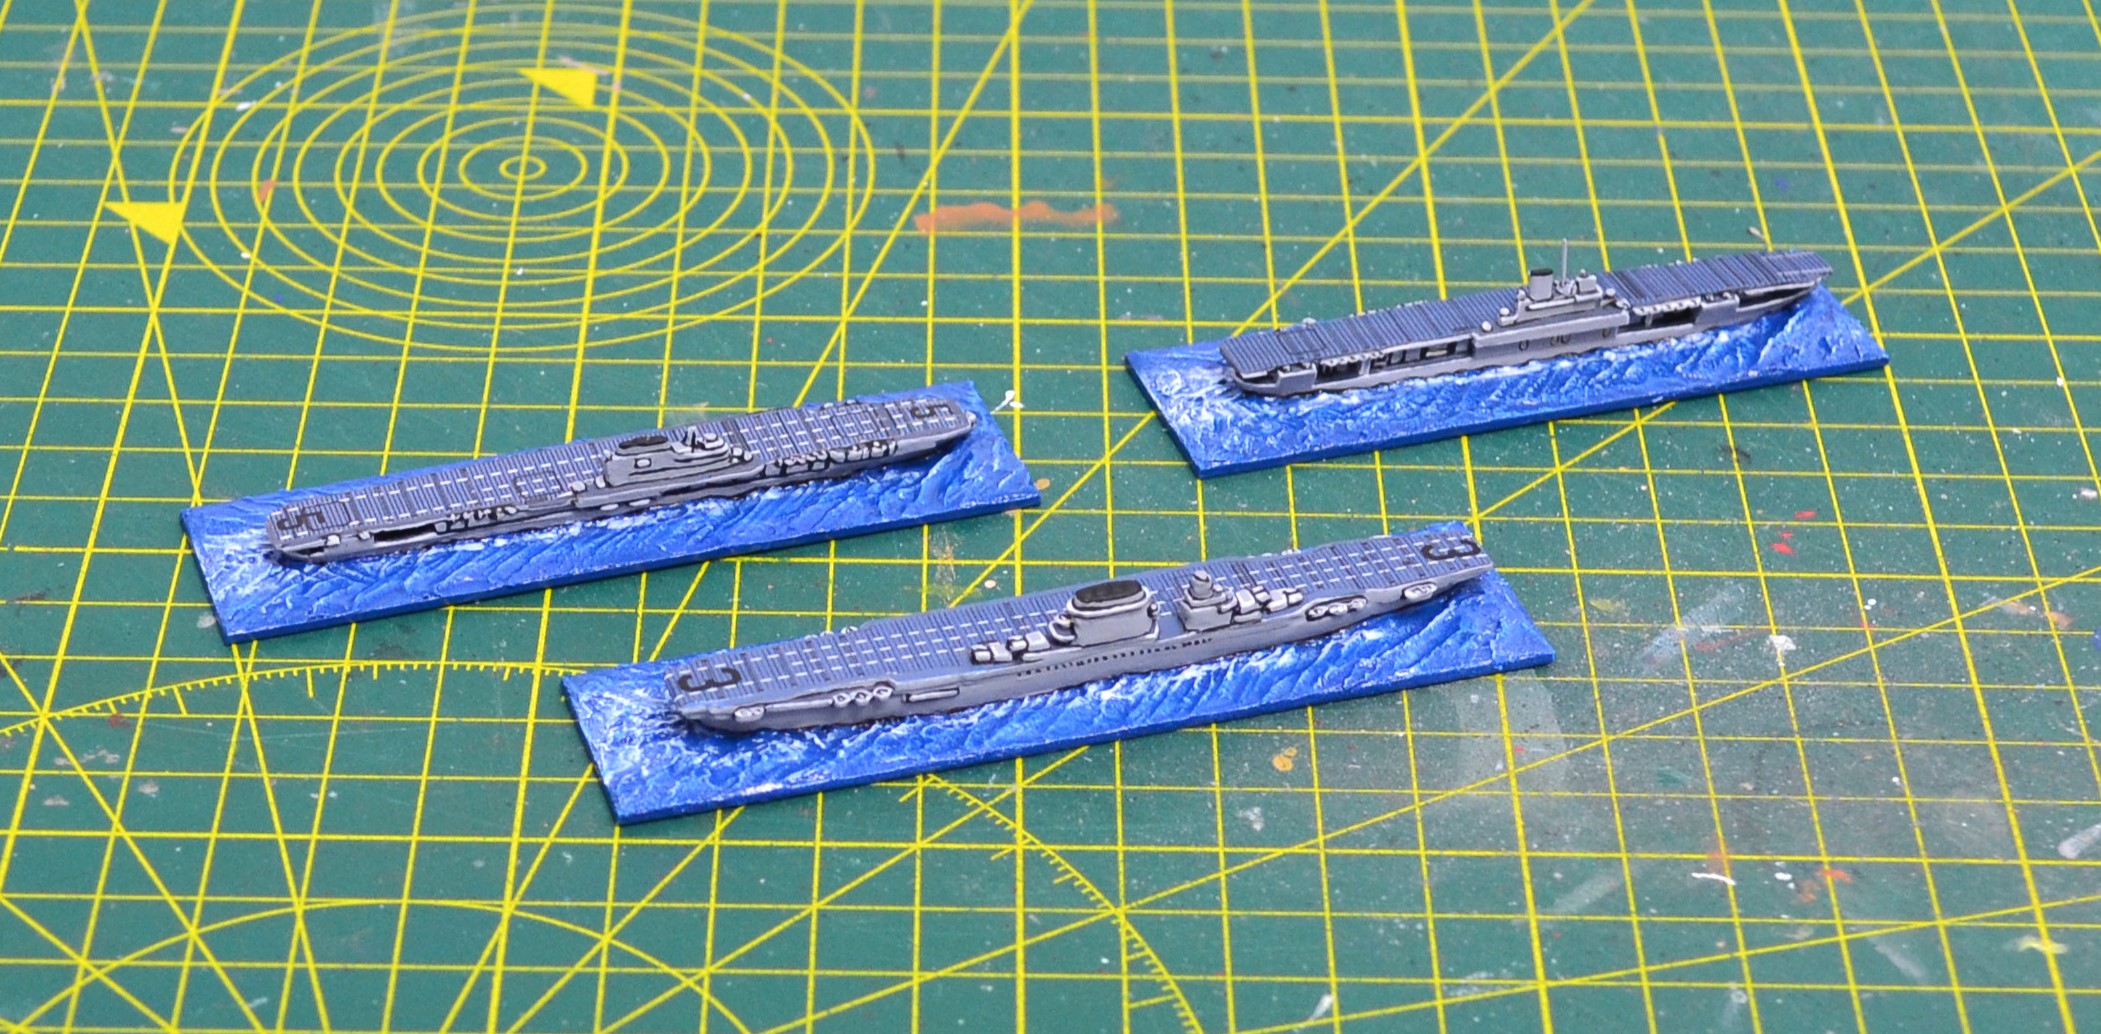
| Japanese carriers: Top; Zuiho, Akagi Bottom; Ryujo, Kaga |
 |
| Japanese carriers |
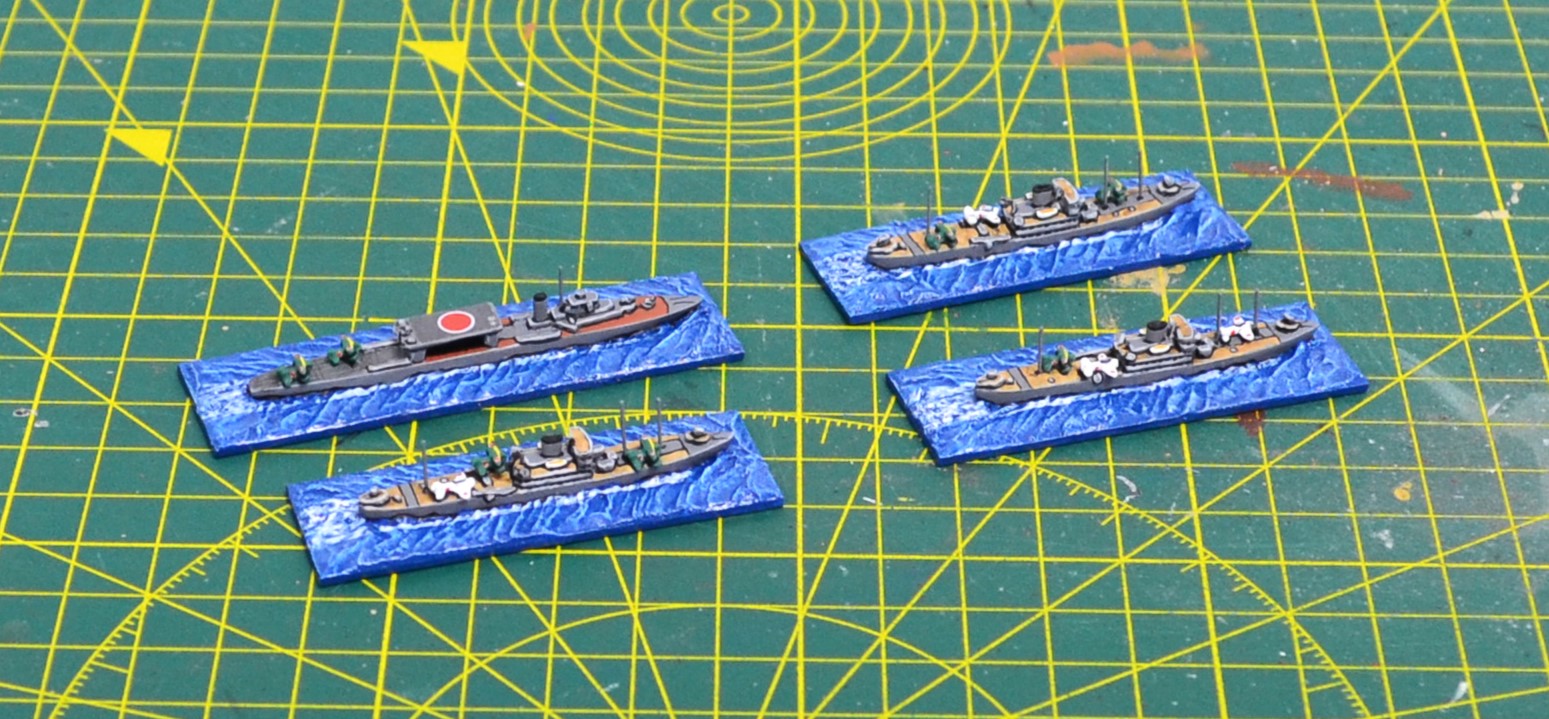 |
| Japanese Seaplane carriers/tenders: Top; Chitose, Kunikawa Maru Bottom; Kamikawa Maru, Hiyokawa Maru |
 |
| Navwar 1/3000 scale aircraft have been added to add more detail to the models and making it easier to differentiate the Maru's from general cargo ships. |
The video guide emphasises the need to apply with great care to avoid damage to the decal. I had a couple of near-misses when applying being overly careful and creating a mess in the process. I found them to be a little more resilient than I expected and overcoming nerves when applying them made it easier.
I am in the midst of painting more US and Japanese carriers and will add them to the blog when completed.
Great models Jon!
ReplyDeleteObviously the RN never expected that Rodney would be running away from anyone 😊 Not that she did, but still, very confident.
Many thanks Ben. Yes Rodney and Nelson were peculiarities born out of the Washington treaty. As you say, running away was not an option!
DeleteSuperb work their Jon and initially I thought how the hell did he paint those details, only to scroll down to find out they were decals!
ReplyDeleteLol. Many thanks Steve. I should have neglected to mention the decals and putting it down to my amazing painting skills! My actual attempt at painting flight decks were pretty abysmal.
DeleteBeautiful work!
ReplyDeleteMany thanks Prufrock
DeleteYou've done a fine job with the decals and with restoring those old models, they look fantastic.
ReplyDeleteMany thanks Mad Padre
DeleteSome of the Japanese carriers have some really nice flight deck camo schemes - any plans? They feature on this site:
ReplyDeletehttps://www.matrixgames.com/forums/viewtopic.php?p=4504868#p4504868
Thanks for that link Rob. Some great photos and illustrations of Japanese ships. Have bookmarked it for future reference. I have one or two colourful camo transfers but my main interest tends to be early - mid war when flight decks were rather more boring sadly. The transfers look excellent and I may have to add a couple in due course just for the visual impact.
Delete