IJN Western Attack Force (WAF) - Allied WESGROUP (RN)
Rear Admiral Arthur Palliser commands the WESGROUP sweep intending to intercept the Batu Kharu supply convoy. His flagship is the heavy cruiser Exeter, with the light cruisers Dragon and Durban, the destroyers, Encounter, Jupiter, Scout and Tenedos sailing out of Singapore. Intelligence has been received from a sub reporting a sighting of what is believed to be this convoy. It has been confirmed this intelligence has been deemed accurate and therefore increasing the possibility of interception.
The weather is a rough Force 7 and overcast reducing visibility. As the fleet heads north Japanese land-based aircraft sortie to intercept but failed to locate them.
The wind drops to a Force 5 and still cloudy. Palliser curses the weather improvement raising the prospect of his force being located by the Japanese Distant Cover Group patrol. He need not have worried. The veteran Vice Admiral Ozawa was demanding answers from his lookouts as to why they failed to spot the Royal Navy ships. It was now just a question of locating the supply convoy.
IJN Eastern Attack Force (EAF) - Allied EASGROUP (US)
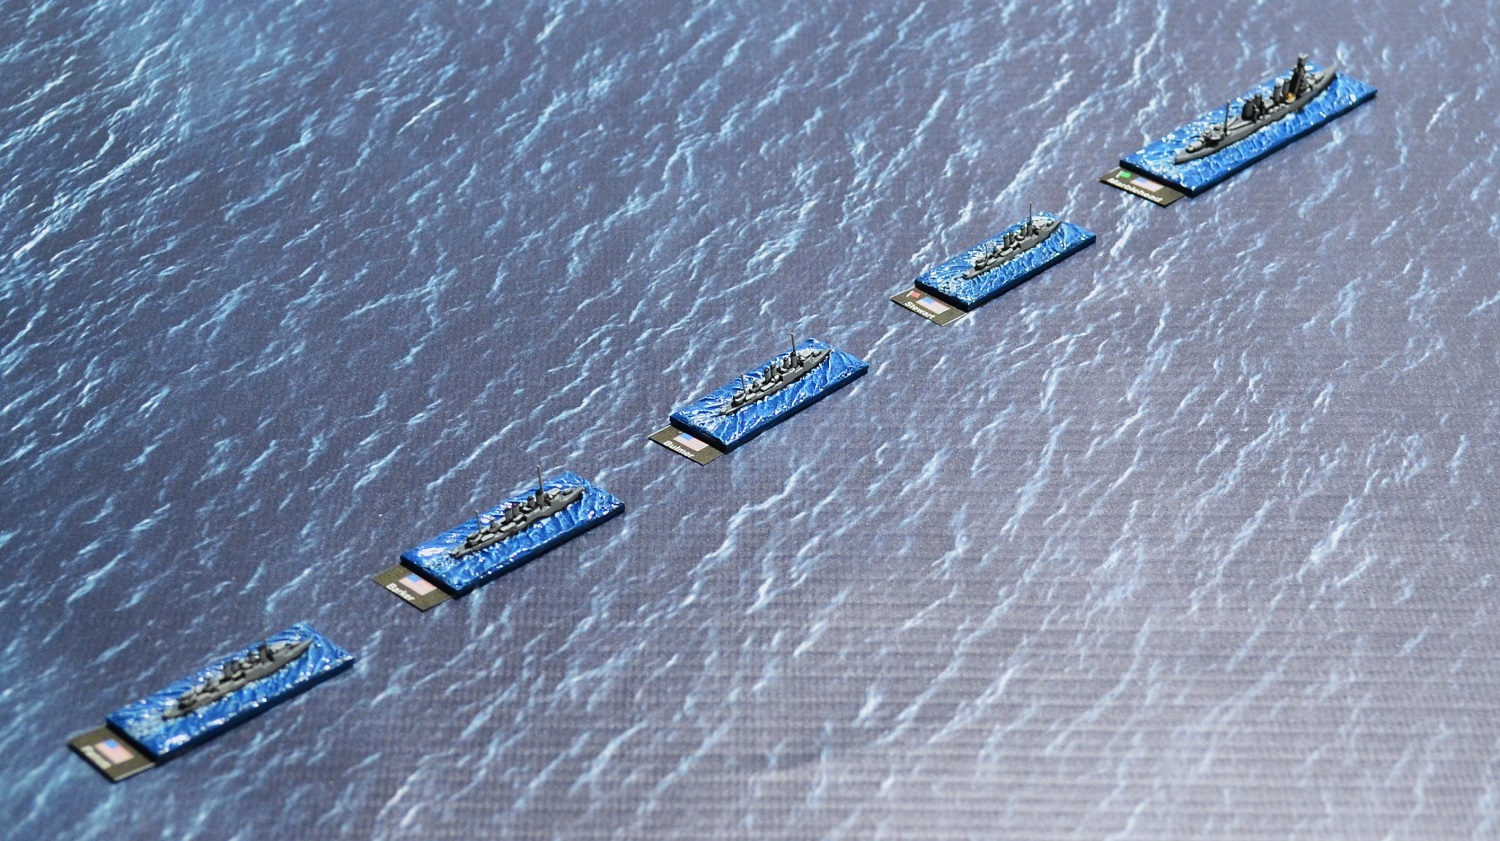
Rear Admiral William Glassford in the aging light cruiser, Marblehead, prepares to lead out his similarly aging flotilla of destroyers. Each has to test to ascertain if any have mechanical problems. As they slip their moorings, the Paul Jones announces it has engine damage. It could continue but its speed would be reduced. Believing it would be more of a hindrance than an asset, it was decided it would remain alongside for repairs.
Heading out of Tarakan in Borneo, Glassford's force is now reduced to 4 Clemson class destroyers, the Stewart, Parrott, Barker and Bulmer. They hope to intercept one of the Philippines invasion convoys. The weather is a relatively calm force 4 and cloudy allowing for carrier born air operations. The IJN light carrier, Ryojo, launches its aircraft but they fail to make contact with the US group.
As the Marblehead and its escorts continue the wind speed drops to a Force 2 and the skies clear. Not exactly what Glassford was hoping for with a Japanese patrol lurking out there somewhere. Sure enough, the EAF Distant Cover Group made contact during daylight 0800 - 1200.
 |
| Contact was made at a distance of 23,000 yards (115cm). Both forces steaming at 25 knots with the Marblehead heading north-west and the Japanese south-east. The Japanese are located 4 points off Marblehead's quarter. |
Continued -
 |
| Glassford in the Marblehead considers his options. He is severely outgunned but he does have a good number of torpedoes, albeit of the unreliable variety, that could give the Japanese a headache. |
 |
| The Japanese flagship, Myoko, a Nachi class heavy cruiser, leads its sister ship Nachi and two Kagero class destroyers, the Natsushio and Hayashio. |
Turn 1
 |
| Marblehead peels away seeking to close the gap on the Japanese cruisers while the destroyers do likewise aiming to acquire torpedo solutions. |
Turn 4
 |
| With little happening in the first turns I have skipped to turn 4 where the action began to ramp up. The destroyers exchange gunfire with US destroyers concentrating on the lead Japanese destroyer, Natsushio. Several hits were registered knocking out its forward torpedo mount and flooding caused by bulkhead damage. |
 |
| Myoko and Nachi fire on the Marblehead with their 8" batteries knocking out a turret and a couple of hull boxes. |
 |
| An overview of turn 4. |
Turn 5
 |
| The situation turned decidedly ugly for the Americans with two torpedoes striking the Marblehead and two the Bulmer (top left). The Marblehead was crippled with two fires breaking out. It was also hit by more 8" shells but most of its main armament was still operating. The Bulmer had no chance and was blown out of the water. |
 |
| The Stewart (bottom middle) failed to repair its rudder and was circling to starboard. This prevented the Barker and Parrott (bottom left) acquiring torpedo firing solutions on the Japanese cruisers as they turned to avoid colliding with the Stewart. |
Turn 7


Tough one for the US. Hopefully WESGROUP can give the Japanese some payback. Thanks for taking the time to write this up.
ReplyDeleteIt will be a tall order for WESGROUP but you never know!
DeleteVery interesting - a bit of foreshadowing of what could have happened off the Komandorskiis later on.
ReplyDeleteMany thanks El Grego.
DeleteThat was ghastly encounter for the US Navy - they were just overmatched in every which way. Is WESGROUP likely to fare any better? Fingers crossed.
ReplyDeletePlaying this campaign really brings home the difficult situation the allies found themselves at this stage of the war.
DeleteEven though rather one sided in the end, a great game to follow nonetheless Jon. As you say above, playing it as a campaign gives a great insight into the issues the Allies faced in the Far East and the Pacific.
ReplyDeleteMany thanks Steve
DeleteGood morning Jon, as an aside how do you get on with your new wargaming space, have you got it to where you want it, Regards Peter
ReplyDeleteGood morning Peter. Unfortunately it will never be as comfortable as a room in the house but that is not possible. However, the garage door is now sealed and insulated and all gaps have been filled. This winter was its first real test and I managed to heat it up pretty quickly. The only downside I have discovered is the evidence of moisture. Its relatively minor but something I will have to keep an eye on.
DeleteOn another subject, I apologise for not responding on Discord. I have got myself back into playing Total War (presently Rome 2 but also have NTW3 mod downloaded). Discord looked like a place to go for info and being new to it I completely missed all the comments directed at me until a couple of days ago, including muting my mic which I have now done! I will probably only dabbling on it for now.
I did not know I was on discord? I will investigate......Regards Peter
ReplyDeleteUsername of Petrovich and the message was "Good to see you on here Jon, this is Peter Little". Dated 4th July 2021! My fault, did not check the date. Would have been when I spent a very brief time on it before
DeleteI found I was on discord when I looked at Total War myself but never followed it through, still strange though as I don't play computer games now unless Total War do a Napoleonic game ?
Delete