Turn 7
| The first casualty of their command problem is the second 6pdr AT gun. Having used their initiative to unlimber it gains no further activations and is promptly knocked out by the 75mm. |
Turn 7
| The first casualty of their command problem is the second 6pdr AT gun. Having used their initiative to unlimber it gains no further activations and is promptly knocked out by the 75mm. |
Continued -
![]() |
| A summary of movements and actions at the end of turn 4. |
3 attacks are launched. WAF and EAF Land Based Air and a Carrier based attack from Ryojo.
Only the WAF are successful in locating their target, and not a particularly impressive one at that! The crippled Dutch destroyer Kortenaer escorted by another destroyer, Van Nes, are attacked by bombers. Aircraft availability proved to be poor with only 8 x Nell and 3 x Betty bombers available for the strike using medium bombs on a high level bombing run.
| 4 x bombers targeted the lead vessel, Van Nes, with 7 on the Kortenaer. |
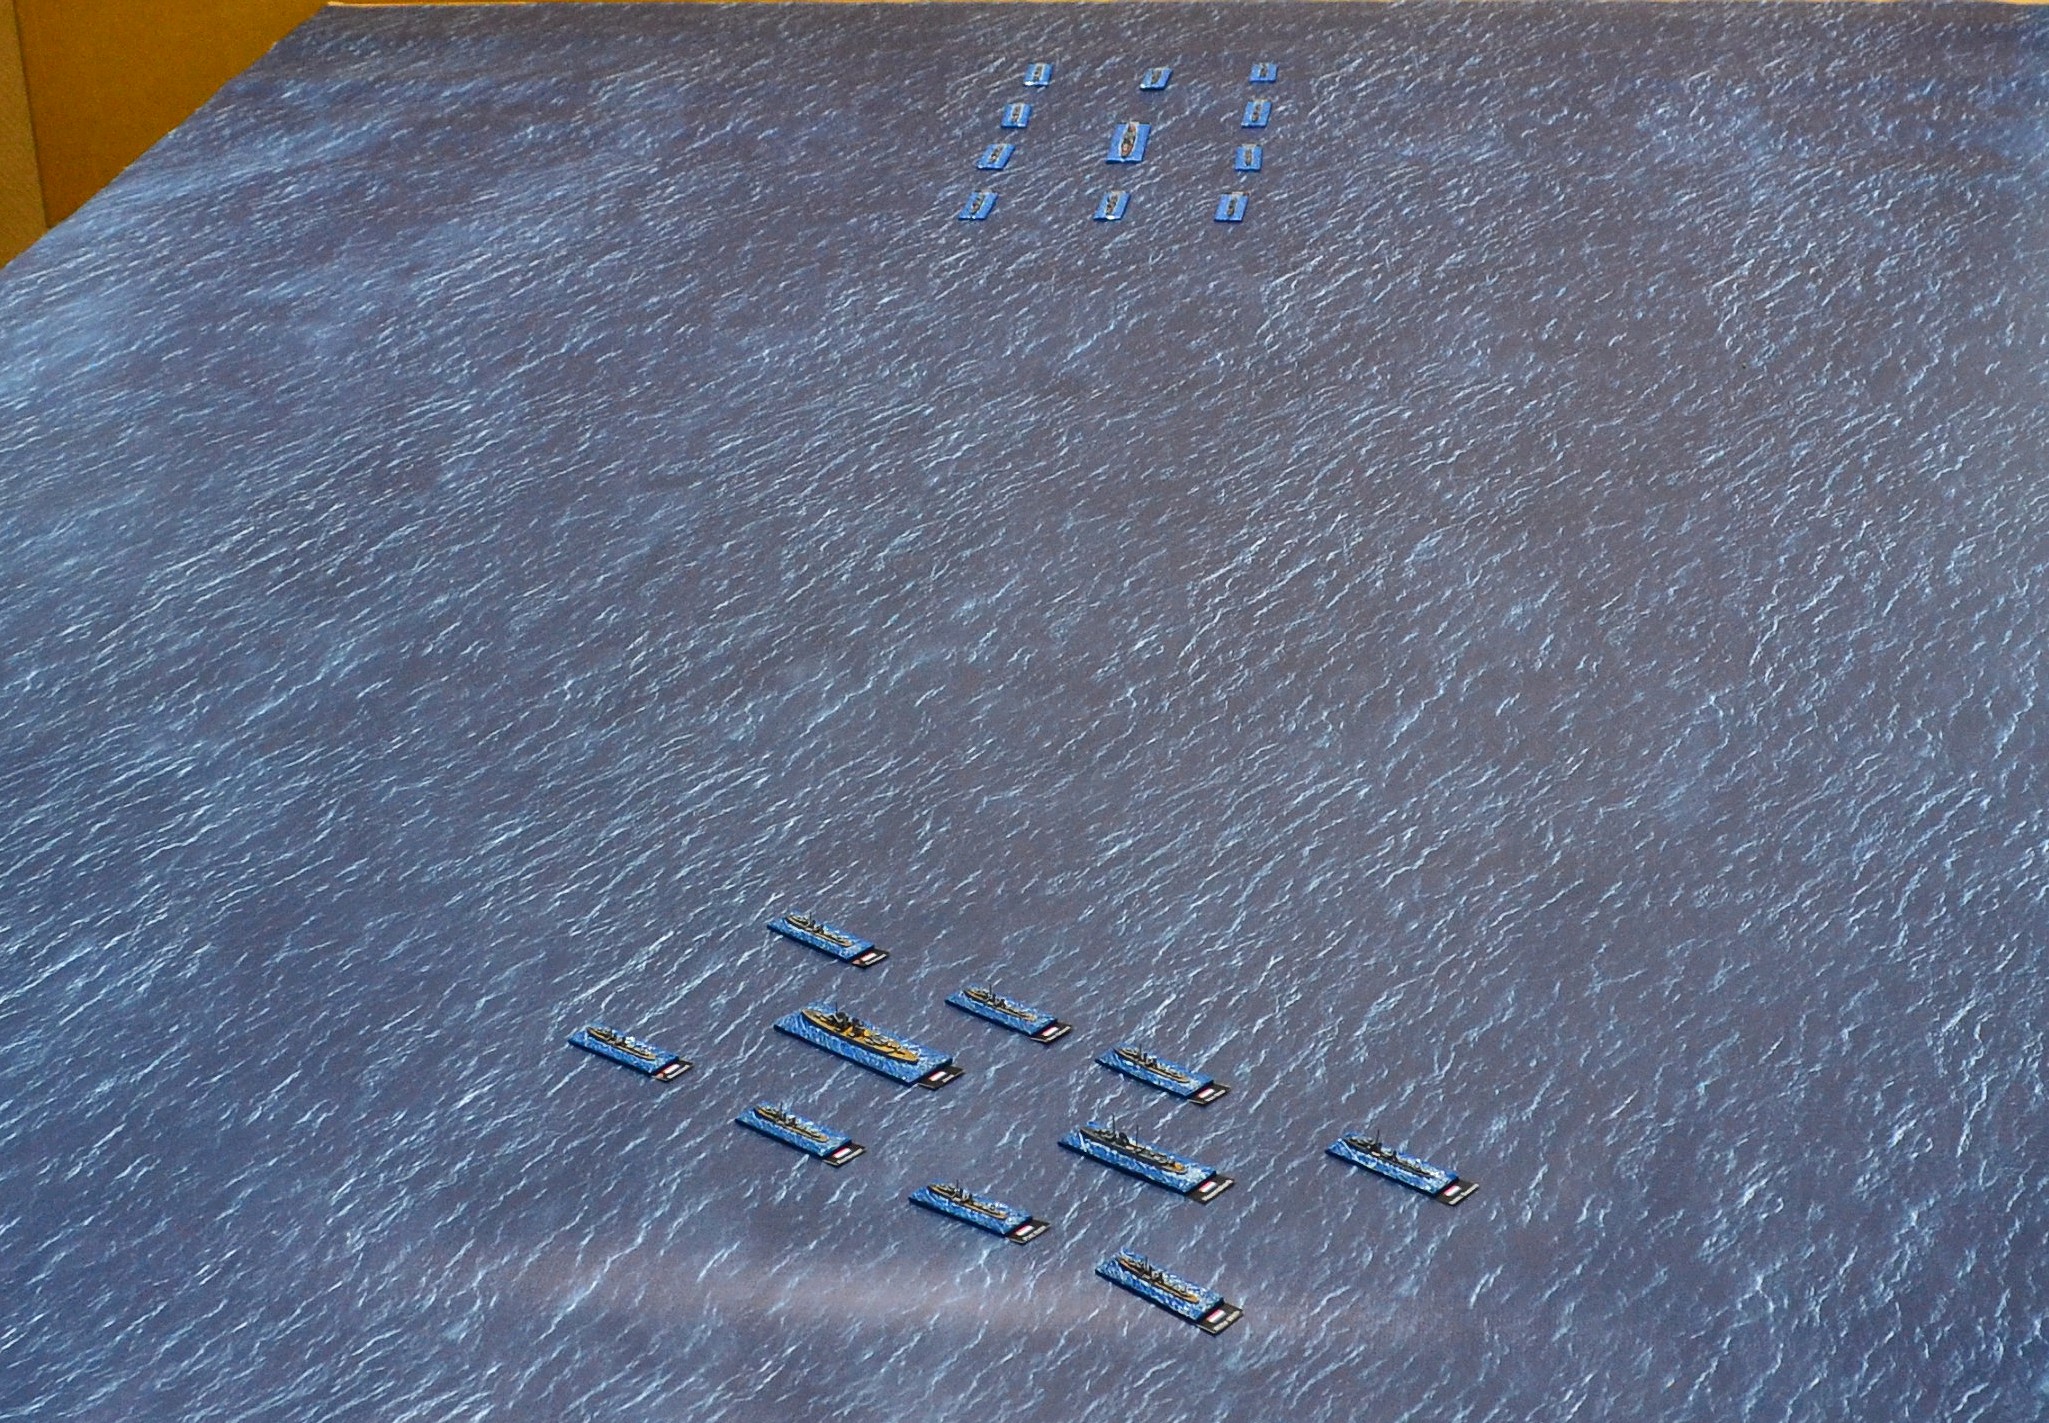
Turning now to the final surface v surface action on turn 4, the US EastGroup reinforced by two New Zealand light cruisers successfully intercepts a very small Japanese invasion convoy heading for Banjermasin in Borneo.
![]() |
| EastGroup had come through an air attack unscathed and now had a chance to interrupt Japanese invasion plans. |
| The Japanese convoy under the command of a veteran Admiral Tanaka on the flagship Jintsu. |
| EastGroup under the command of Admiral Glassford on the Boise. |
Turning now to the east, the Australian Darwin group escaped unscathed from a torpedo bomber attack and now make a dash for an invasion convoy heading for Kendari. Enroute they are intercepted by the Japanese EAF patrol.
More progress has been made refurbishing my collection of models painted decades ago. Hence the rather random nature of the ships completed. British ships have now received their refit and the Italians and Germans are next in line.
All are 1/3000th scale Navwar models.
| Left to Right: Mauritius (this was a new model and may make an appearance in the "Defending the Malay Barrier" campaign), Newcastle and Belfast. |
Continued -
Focussing on the Dutch CenGroup, their flagship has pulled out due to damage sustained in a bombing attack. The flag has been transferred to the light cruiser Java and the group has continued north with the intention of disrupting a Japanese convoy headed for the Malay peninsular.
![]() |
| Before they have any chance of engaging the convoy, they in turn are intercepted by the Japanese Distant Cover Group under the command of Admiral Kondo in the heavy cruiser Atago. |
![]() |
| A reminder of the situation at the end of turn 3. Japanese objectives captured are circled. |
![]() |
| WAF has completed 2 tiers and the EAF 1. |
Continued -
![]() |
| A reminder of the situation at the end of turn 2 with objectives captured by the Japanese circled. |
![]() |
| For this turn it will be a priority for the Japanese to complete tier 2. |
Continued -
More additions to the Carthaginians for Trebia have been completed along with several more refurbished 1/3000 scale ships.
The final actions of campaign turn 2 are potential air attacks on crippled or disabled ships underway for repair.
The first phase is a carrier strike group from the Ryojo attempting and failing to locate the crippled Houston and its destroyer escort.
The final phase are the Land Based Aircraft attempts. The WAF fail to locate the crippled HMS Dragon in poor weather. The EAF however, are blessed with clear skies and good weather and do find HMAS Canberra escorted by HMAS Hobart.
I used the Campaign Air Ops in GQ3 rather than Tactical Air Ops to speed things along.
![]() |
| The initial German plan of attack. |
| The initial assault on Wyler proved costly for the Germans. An infantry platoon was lost with others suffering casualties as the attempted to storm the village buildings. |
This is the 2nd scenario in the Rapid Fire! supplement 'Operation Market Garden'. Orders of battle have been converted for Blitzkrieg Commander (BKC) rules.
This posting will provide an introduction to the game including objectives etc.
Game details:
Table Size 4'6" x 3'
Figures - Heroics & Ros (new sculpts)
Rules - Blitzkrieg Commander IV
![]() |
| My interpretation of the map contained within the scenario book. |
The US Airborne for the 505 PIR is now complete and is the subject of the next game.
All figures are of the new Heroics & Ros range and the orders of battle are taken from the Rapid Fire 'Market Garden' supplement. This represents the full regiment of 3 battalions.
I have covered this in previous blogs but a reminder here on converting RF orbats to BKC. It is relatively straight forward with each stand representing one platoon. With regard to the number of figures it is roughly RF + 50%. Or a ratio of 1:10. For vehicles the ratio is 3 in BKC for every 2 in RF. No change for artillery.
Firstly the latest painting progress. A long overdue attention to the Market Garden project - Groesbeek Heights.
| Almost complete prior to basing. |