Turn 7 - Conclusion:

With the build up of Italian infantry to their front, the units on the 2nd British hilltop position, now reinforced by the 11th Hussars, fire with all they have got. The 40mm AA gun was particularly successful, passing several command rolls the final one of which was a double '1' meaning it could take 2 actions. In this case two further rounds of fire repeatedly hitting the Italians.
Continued -
 Despite the intensity of their fire though they failed to destroy any of the Motorised infantry company but two sections fell back and another was suppressed.
The main British force fired on the Berseglieri without any real effect.

The Berseglieri motorised company commander ordered his remaining men to make a run for dunes on their flank allowing them to pour fire into the British from cover. It would also force the British to divert some of their men away from what was now developing into a main attack by the motorised infantry company on the British 2nd position.
Their dash for cover proved nerve-wracking as bullets and mortar rounds landed among them. One section was finally taken out just as it was about to throw itself into the dunes. The rest however, made it safely.

The survivors of the Berseglieri motorised company now joined by their commander, deploy in the cover of dunes and prepare to fire back at the British.
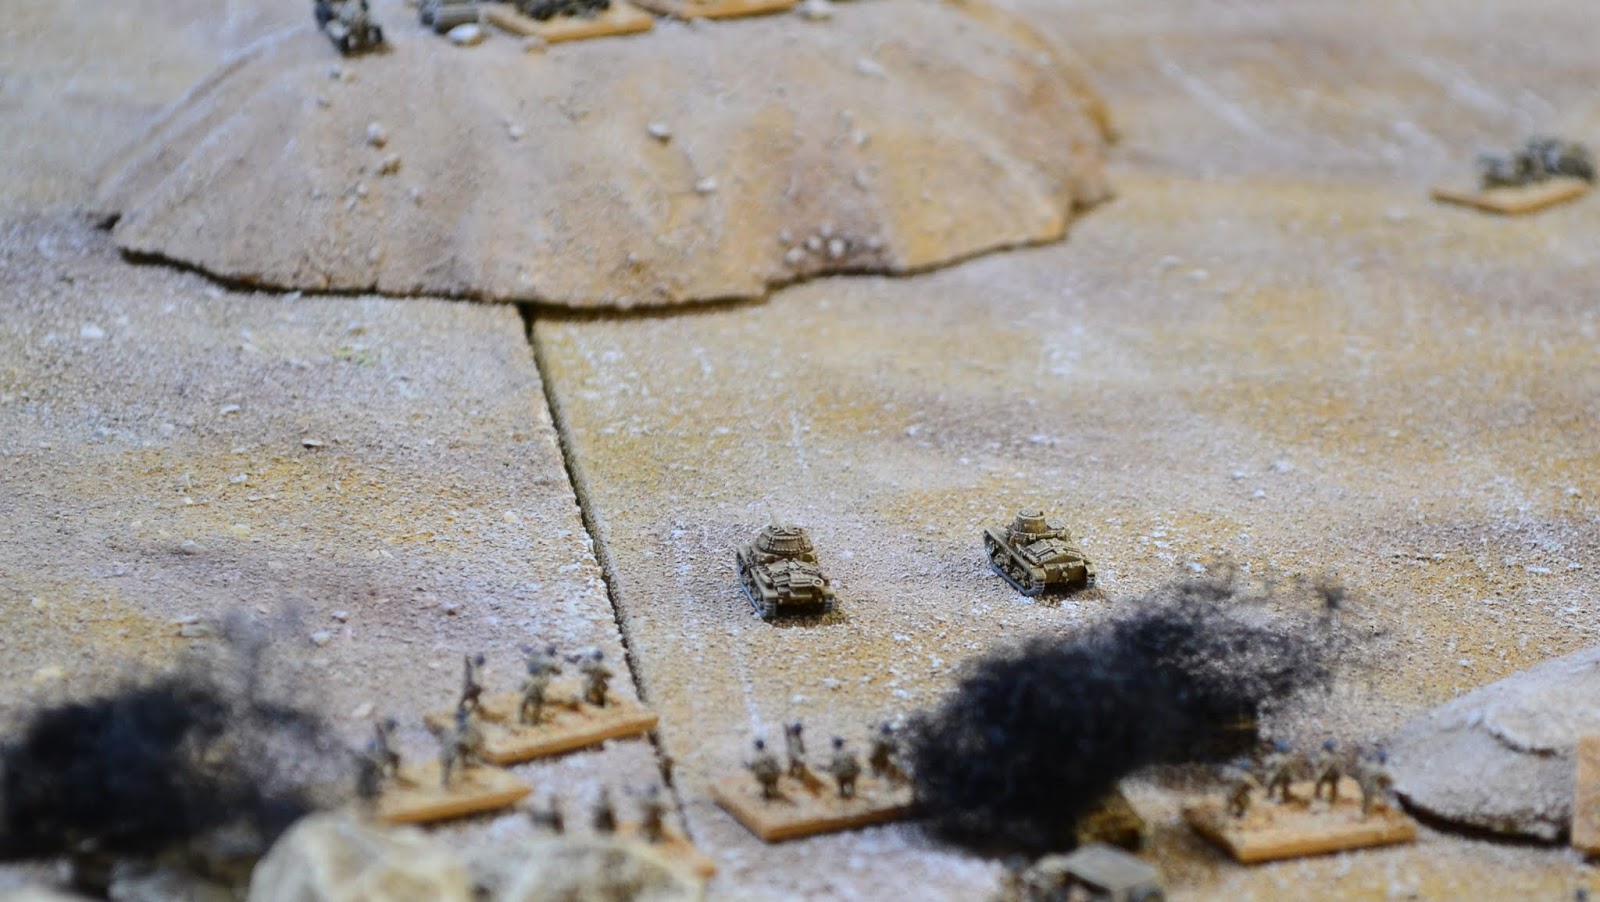
At last the Italian armour moves forward to neutralise the British AFV's. They immediately come under fire from the high ground to their front and also the 2pdr (top right). Both tanks become suppressed.

The Italians now concentrated the firepower of all their infantry, armour and a mortar section on the British 2nd position. In quick succession, the 40mm AA gun, a Rolls Royce armoured car and the anti-tank rifle section were destroyed. With the last infantry section suppressed, it just left a dingo scout car in good order.

The Italians swarmed onto the virtually empty high ground now held by just one infantry section and a Dingo scout car. The latter fired parting shots before driving off the hilltop at high speed. The infantry section was already suppressed so could take no offensive action against the Italians. For their part the Italians, being conscripts, could not initiate a close combat.
The British CO shockingly failed his first command roll. The turn was now passed back to the Italians.

The Italian medium tank company, now under a new commander (1 less on the command value), engaged the Vickers light tank who had been harassing the advancing Italian infantry. Two hits were scored on the light tank with one hit saved. The last hit failed to suppress the tank. The Italians attempted to fire another round into the Vickers but failed the second command roll.

The Italian light tank company, also under a new commander, quickly advance towards the isolated 2pdr anti-tank gun. A second command test was passed allowing them to fire on the gun scoring 3 hits and suppressing it.
The following turn one of the L33's was knocked out by anti-tank rifles firing from the main British position. The second L33 suffered two hits but was not suppressed.
With the 2pdr recovering from suppression, the L33 commander was in a perilous position. One more hit would destroy the tank. He opened fire scoring a hit but failing to suppress the gun. The 2pdr fired an opportunity shot taking out the last L33.
The hopelessly outnumbered British infantry section on the high ground forming the 2nd British position, was shot to pieces by the combined fire of several Italian infantry sections. The Italians had now captured the position.
Elsewhere the Vickers light tank managed to extricate itself and took cover behind high ground. The Dingo made it to safety joining the main British force.
 |
| It was not looking good for the British as they prepared for a last stand. |
 |
| The Italians fan out as they pour fire onto the rocky high ground. |

The British lose an anti-tank rifle section but otherwise hold steady. Most of their force is now concentrated on the Italian motor infantry company.
The following turn was particularly bloody. Using the initiative move the 2pdr anti-tank gun finally extracted itself and joined it's mates on the high ground. The concentrated fire from the British destroyed one section of motorised infantry with a further 2 suppressed. The 2pdr fired at the M13/40 scoring a hit but failing to suppress it. Another Italian infantry section was killed in the British command phase.
With fire pouring down on them from the high ground the Italians replied with their own deluge destroying two British sections. This took the British to their breakpoint of 9 units lost (not including recce units).
 |
| The British looking decidedly threadbare. |
The British used opportunity fire to take out as many as possible. The 2pdr destroyed the M13/40 and the infantry killed another infantry section. This took the Italians to a total of 17 units lost, one past their breakpoint of 16. The next turn would be critical for both sides. For the British their commander had to roll equal to or lesser than his command value of 8. The Italians had to roll equal to or lesser than their command value of 8 less 1 for a unit lost above their breakpoint.
The British rolled for their turn. A double '6'! The turn continues as the British may be able to destroy more Italian units and thus increase the chances of Italian test failure. They fail to do so and it is now the Italian turn. A total of 4 is rolled - a pass. It was now the end of turn 12.
The British have been defeated!
 |
| Positiions at the end of the game. |
 |
| The Italian commander surveys his victorious troops. |
This is my third game with BKCII rules and a few mistakes were made. However, it cemented my view that this was an excellent set of WW2 rules and is capable of handling pretty much any size of game.
The one glaring omission in this game was the absence of rules covering the poor state of Italian radio communication. Aside from poor morale this was a central factor of their crushing defeats at this stage of the war. I took all the stats from the Army Lists contained within the rulebook. The Italians are considered 'normal' tactical doctrine, the same as the British. Therefore command ranges are the same as are breakpoint calculations.
In this game both commanders had a command value of '8' with British HQ's (or sub-commanders) also on '8' with the Italians on '7'. This made it slightly harder for the Italians to maintain command and control.
The next game will be an operation 'Compass' attack on an Italian camp. I intend to make some adjustments to more accurately reflect the poor Italian communications, and the obvious way to do that is to reduce their command radii. Italian leadership was also poor so I will probably give the CO a differential to the British in addition to the HQ's.
So there you are, history is turned on its head. The Italians returned to their camp triumphant while the British survivors slunk back to their lines to face the music!
Great photos and an engaging narrative.
ReplyDeleteI have a question about the British roll of boxcars at game end. Did the British fail their Break Test but keep fighting in order to cause the Italians to break as well?
That's correct Jonathan. The game is not complete until both sides completed the turn. You can conclude the game when one side has broken but as both sides needed to test in this case the turn was played out as it was so close.
DeleteThanks for the explanation. What is the outcome if both break on the same turn?
DeleteThe rules state that all the casualty points (based on the points cost of each unit) are added together and the side who has suffered the most loses. A minor or major victory depends on how big the difference. Victory points are also awarded for any objectives captured. In my case I do not use the points system and in this game there were no objectives other than to destroy the opposition. As the Italians lost more than the British but not double the amount it would have been a minor victory for the British. Had the Italians lost one more unit (18 compared to the British 9) it would have been a major British victory.
Delete